

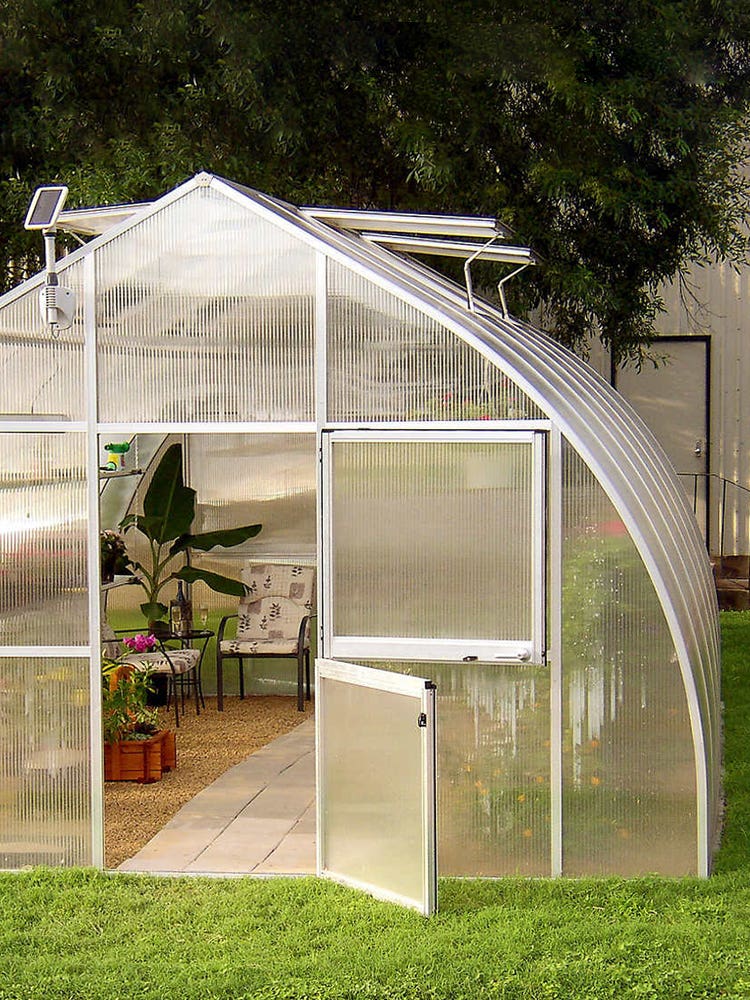
The Chic Outdoor Costco Structure You Loved Is Sold Out, But These Greenhouses Are Still in Stock
A few are for more than just plants, too.
A few are for more than just plants, too.
Including supersharp $27 pruners.
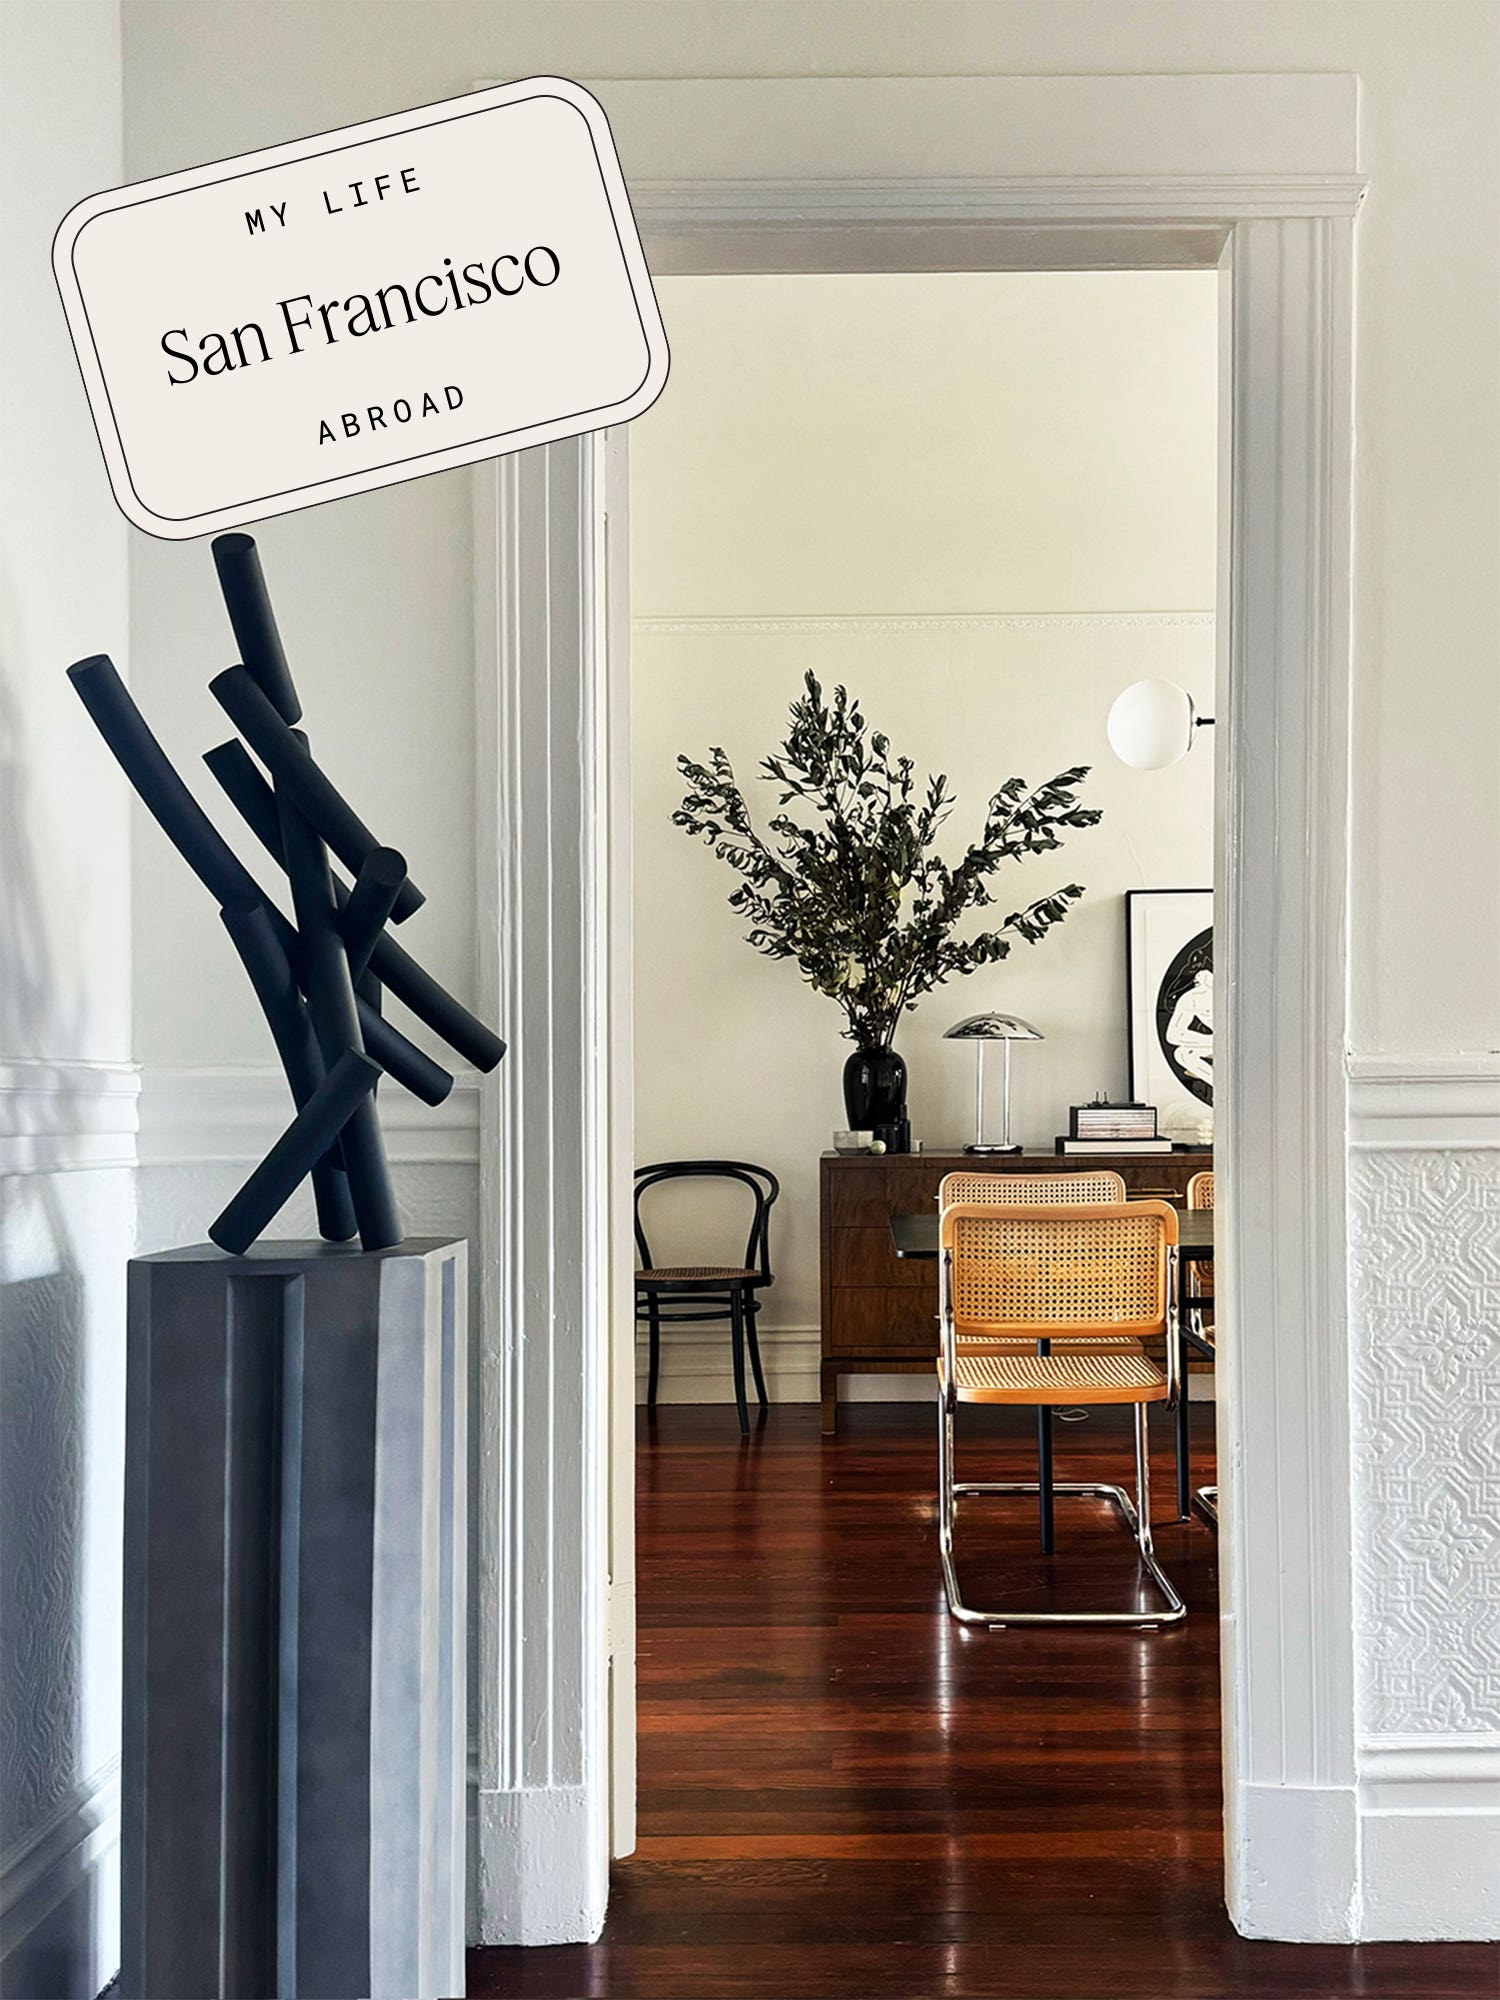
It all started with a trip to Milan.
“It feels like a life well lived.”
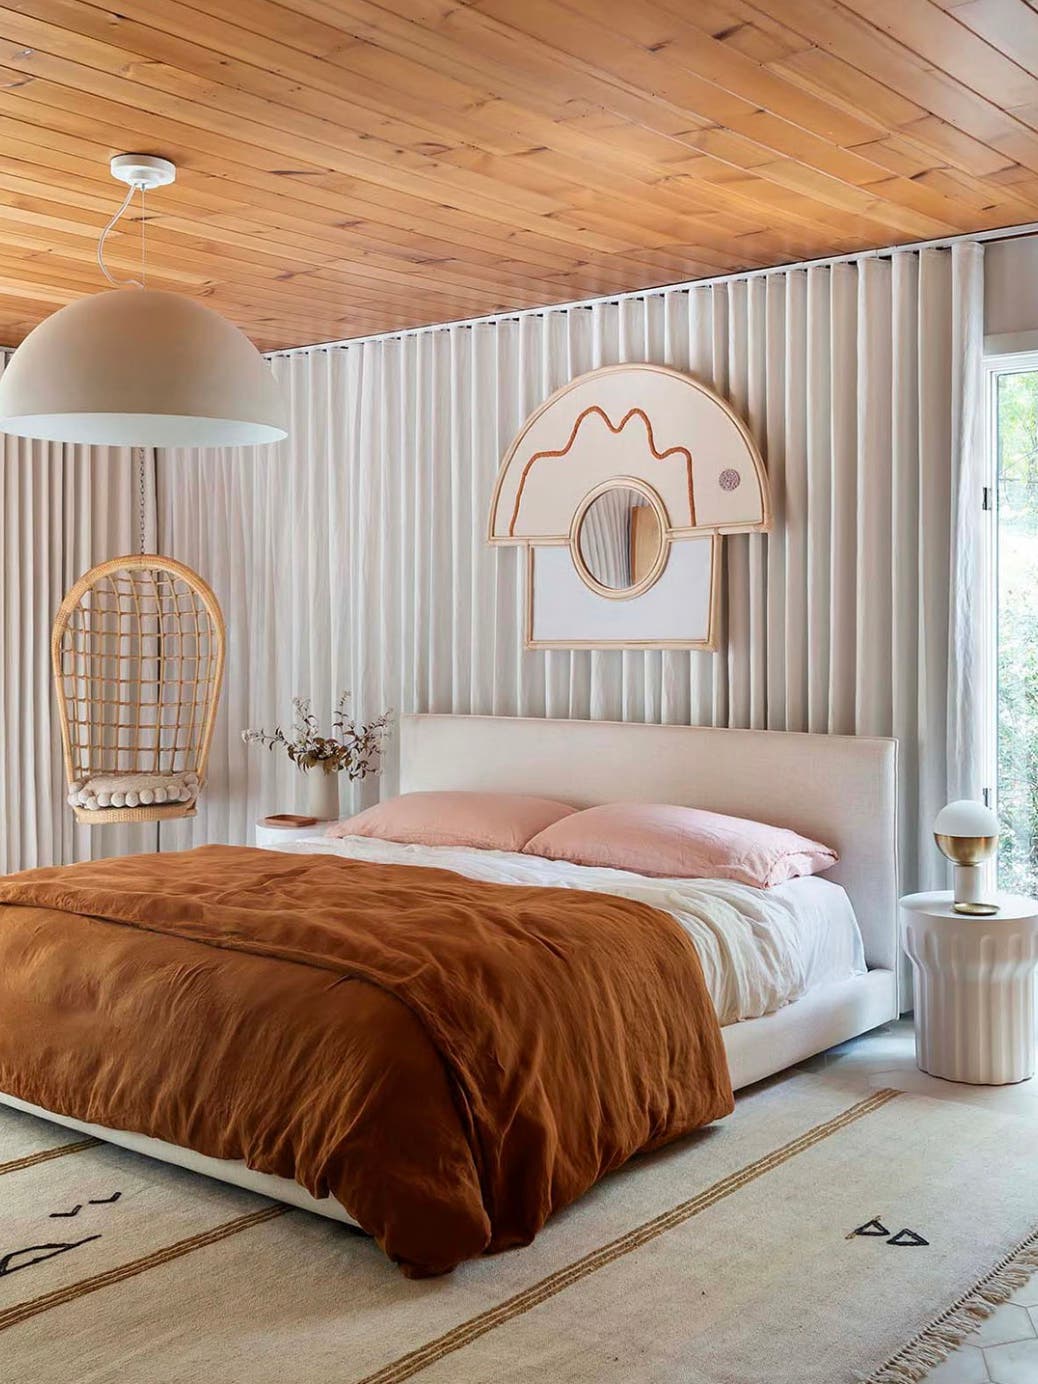
It doesn’t have to be spring to start fresh.
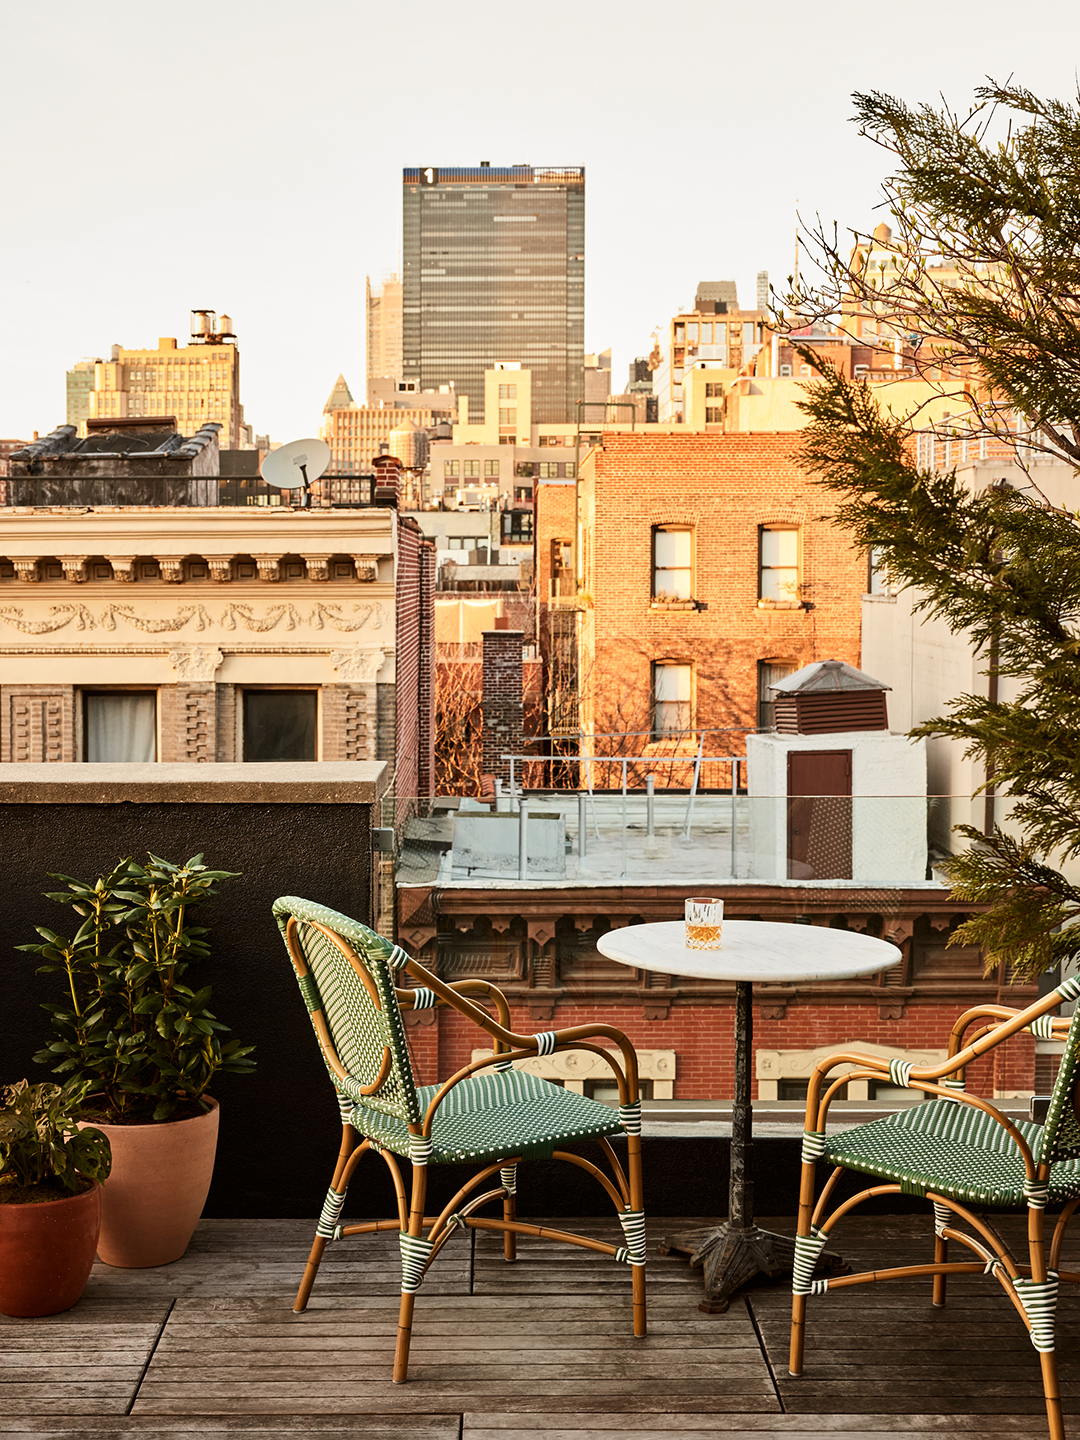
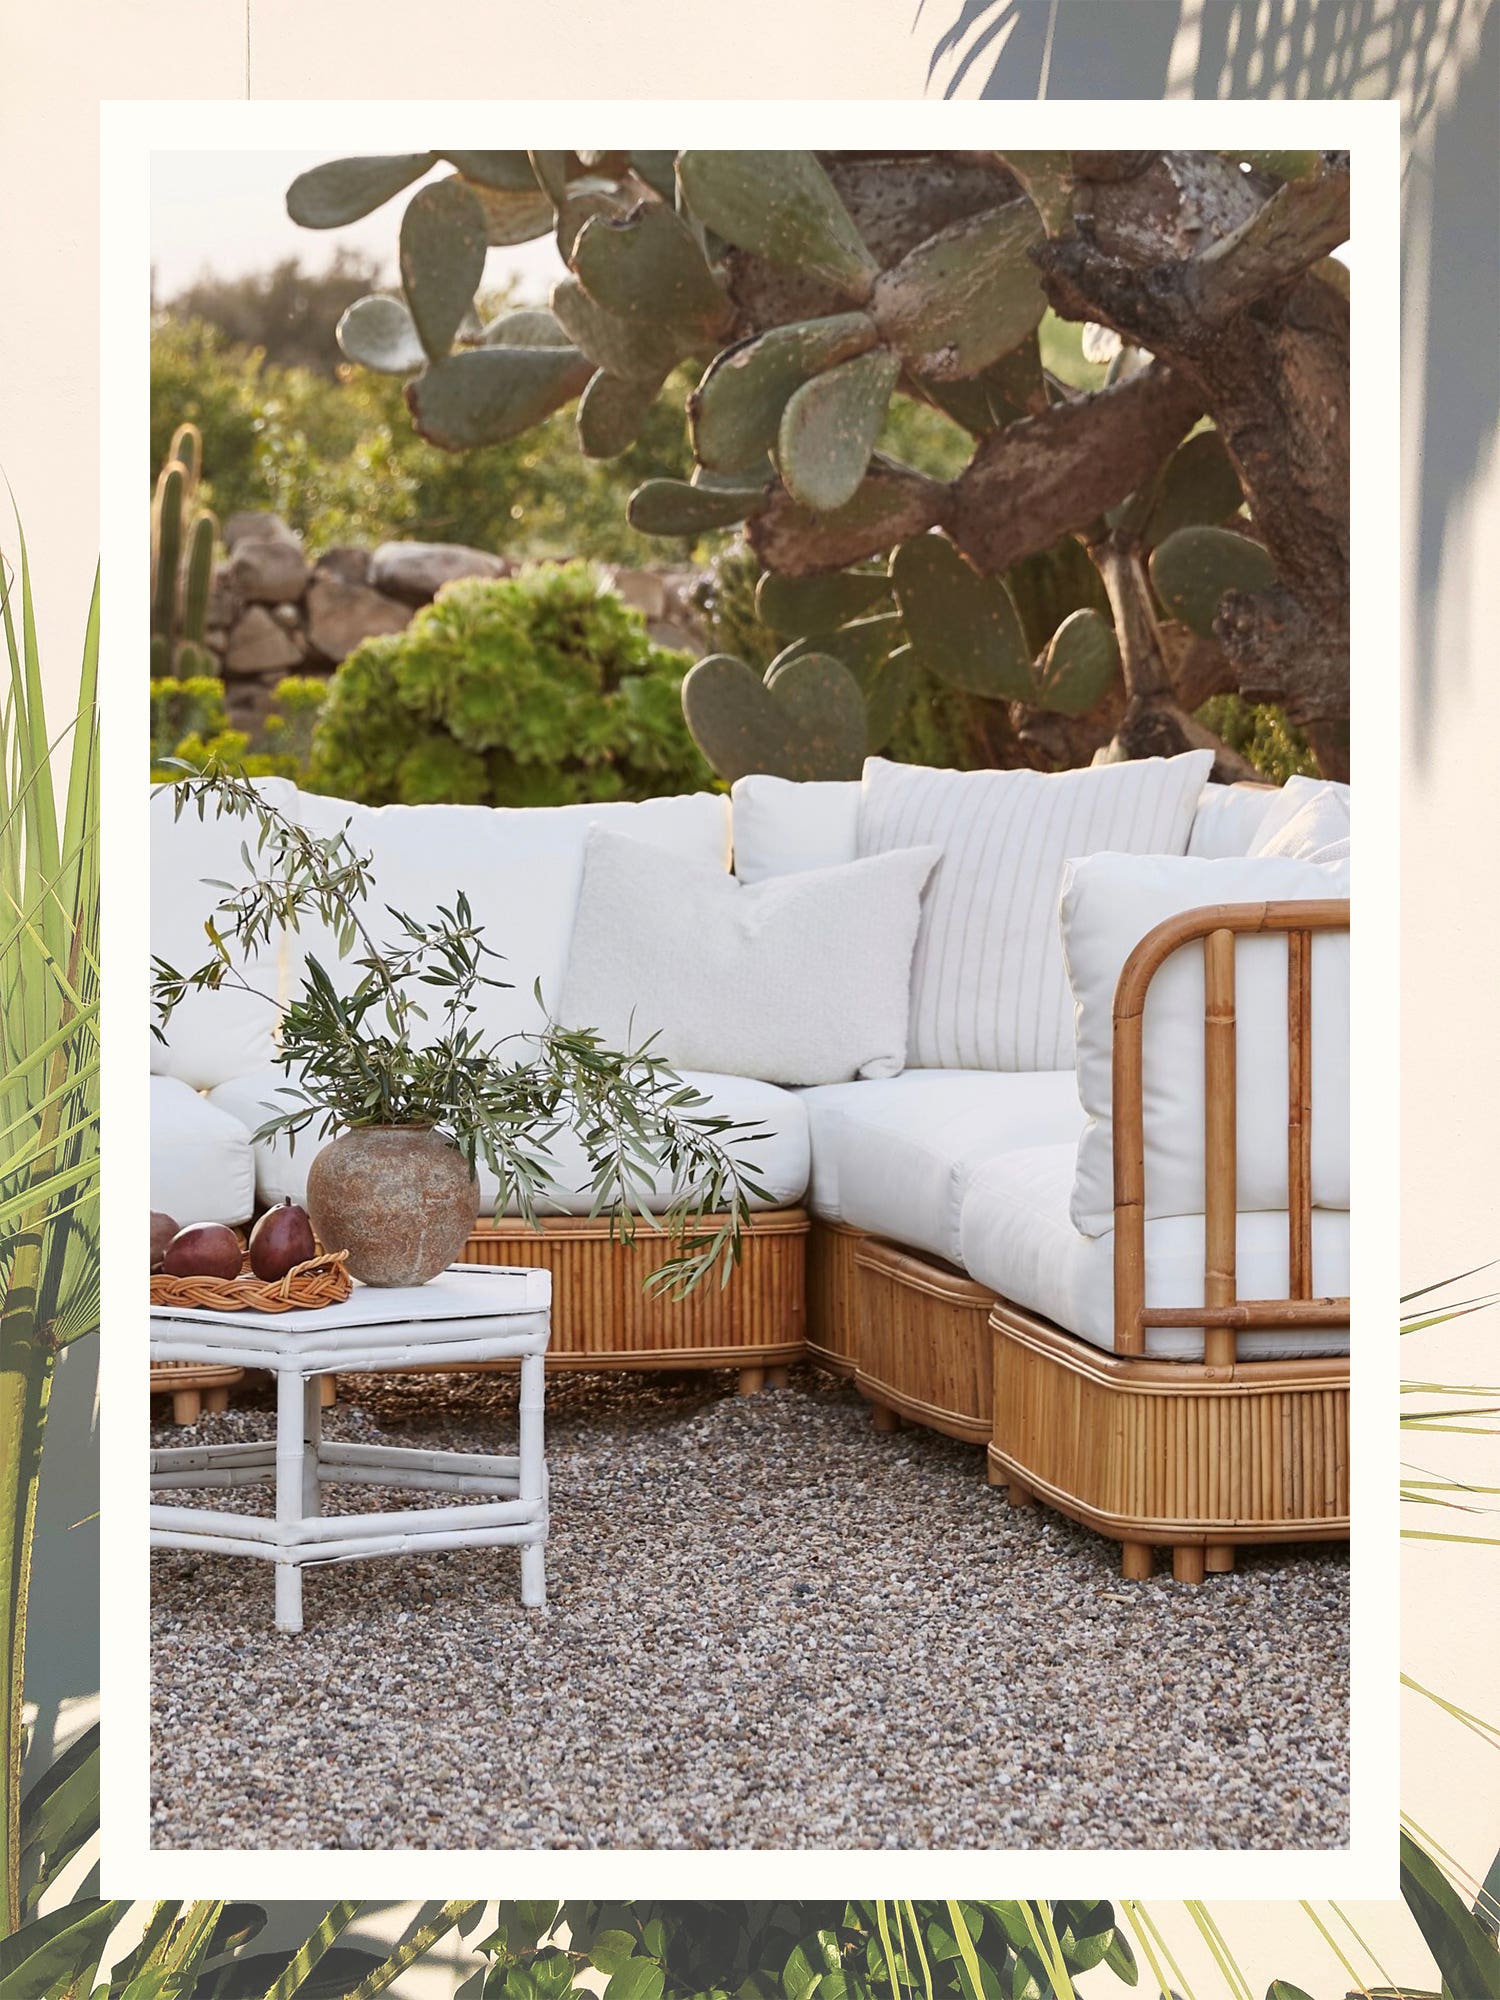
Friends buy art off the walls, but the 100-year-old cactus is staying.
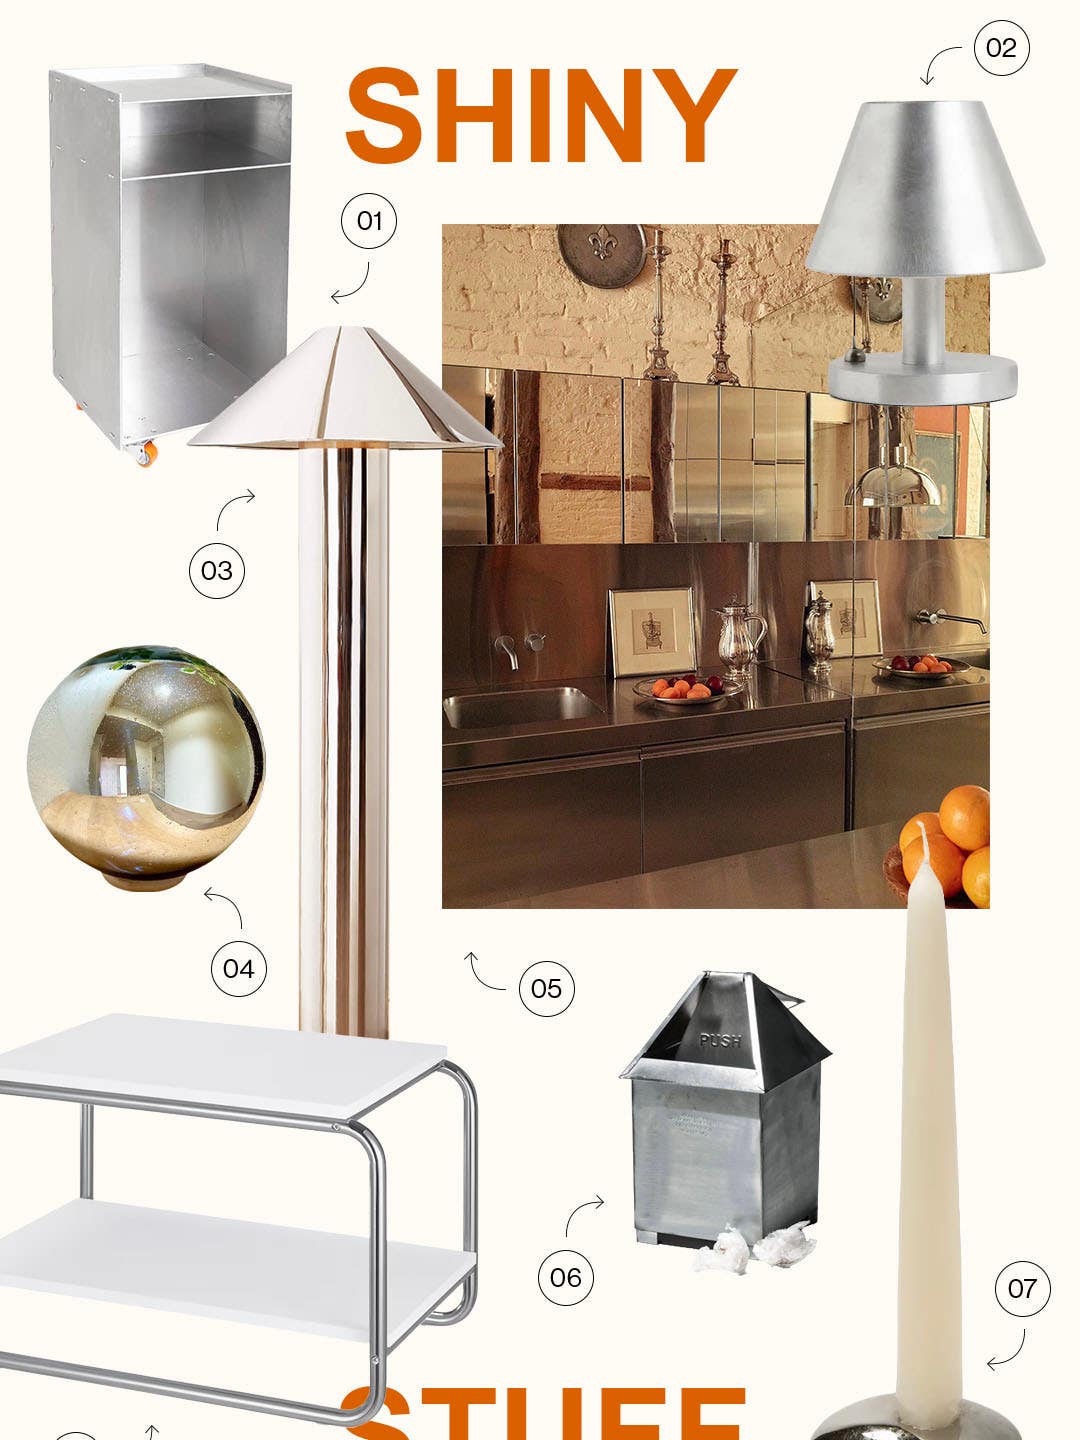
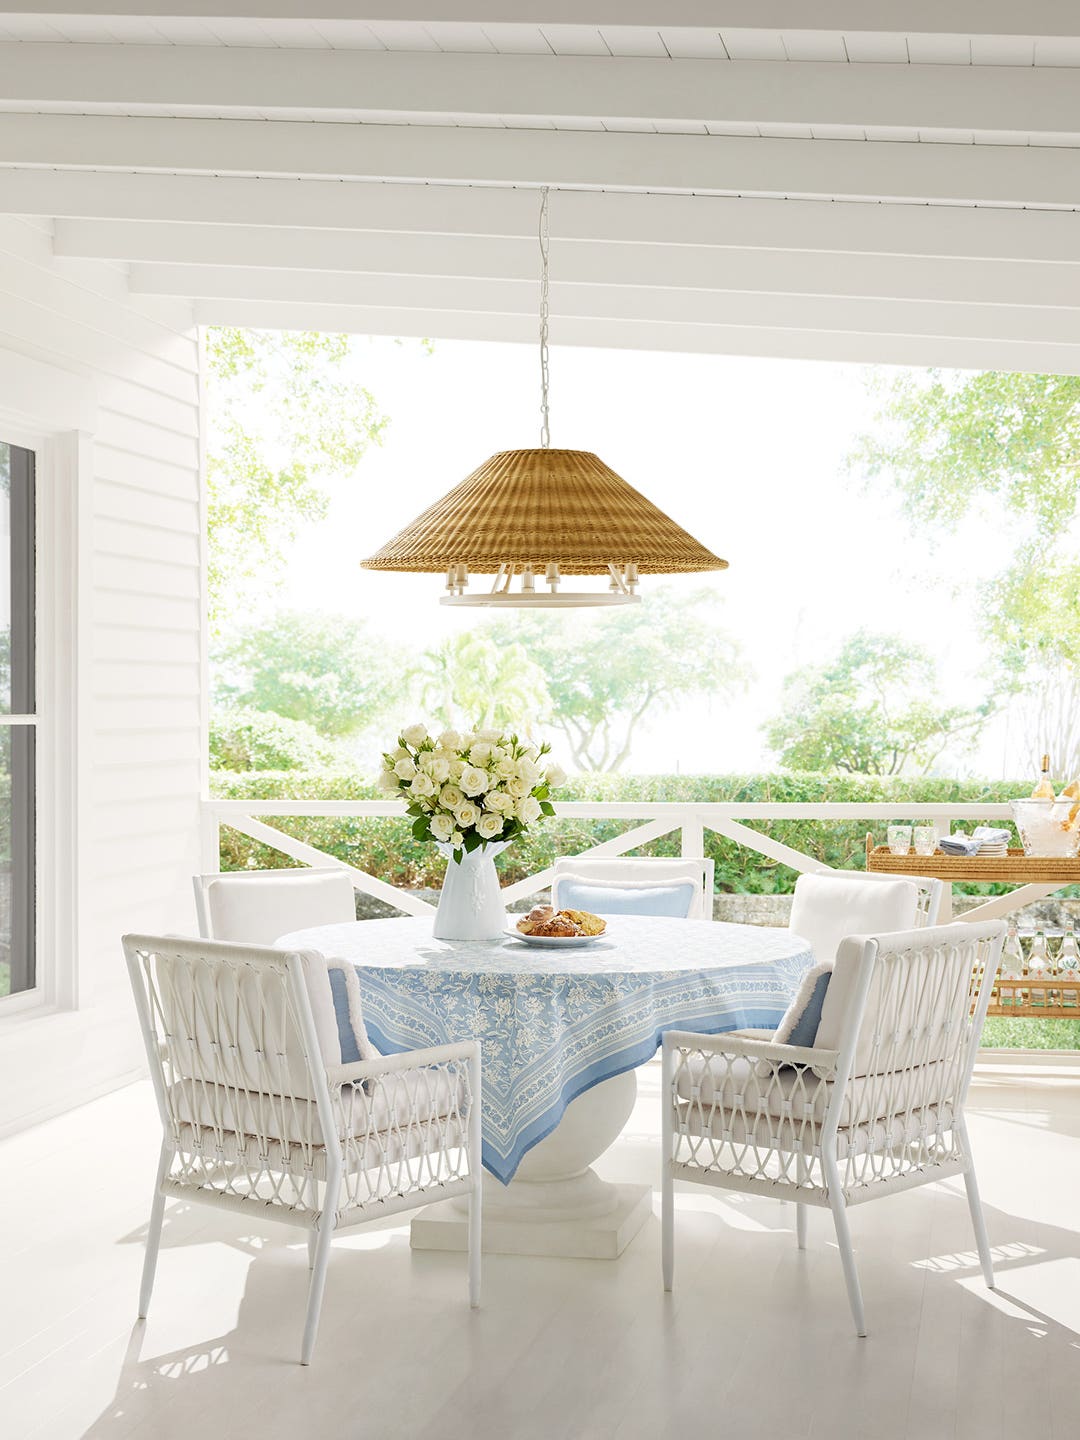
Who knew the summery material had so much range.
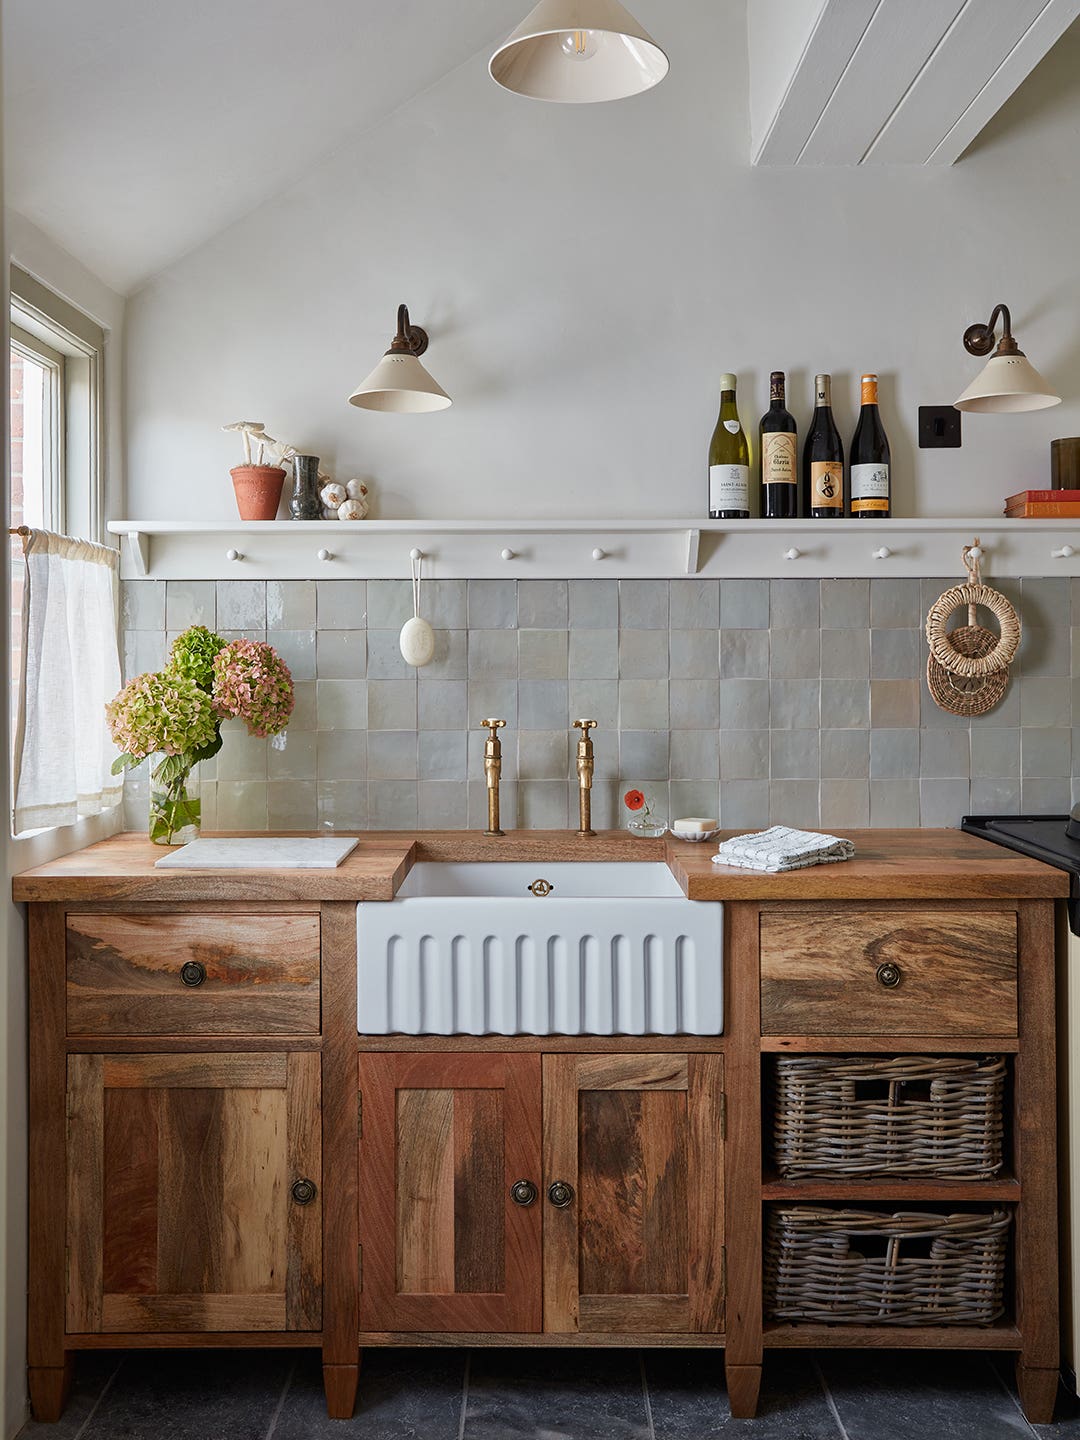
And ditched the two utility sinks that were soaking up space.
Elegant fuchsia gardening gloves and footed glass caviar bowls.
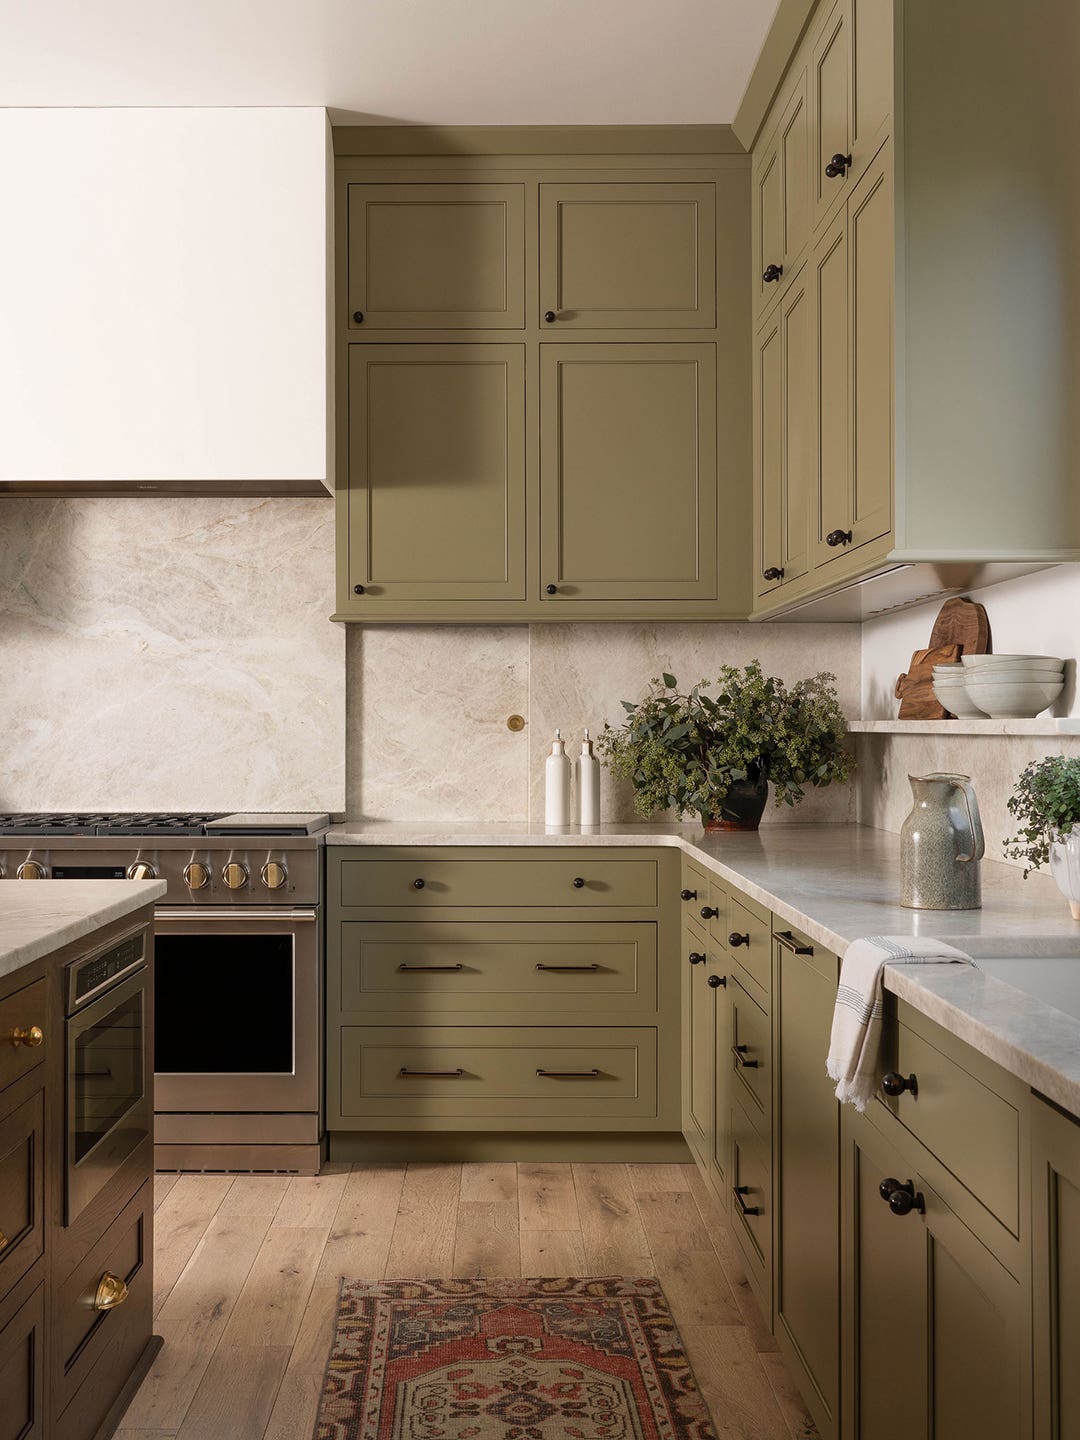
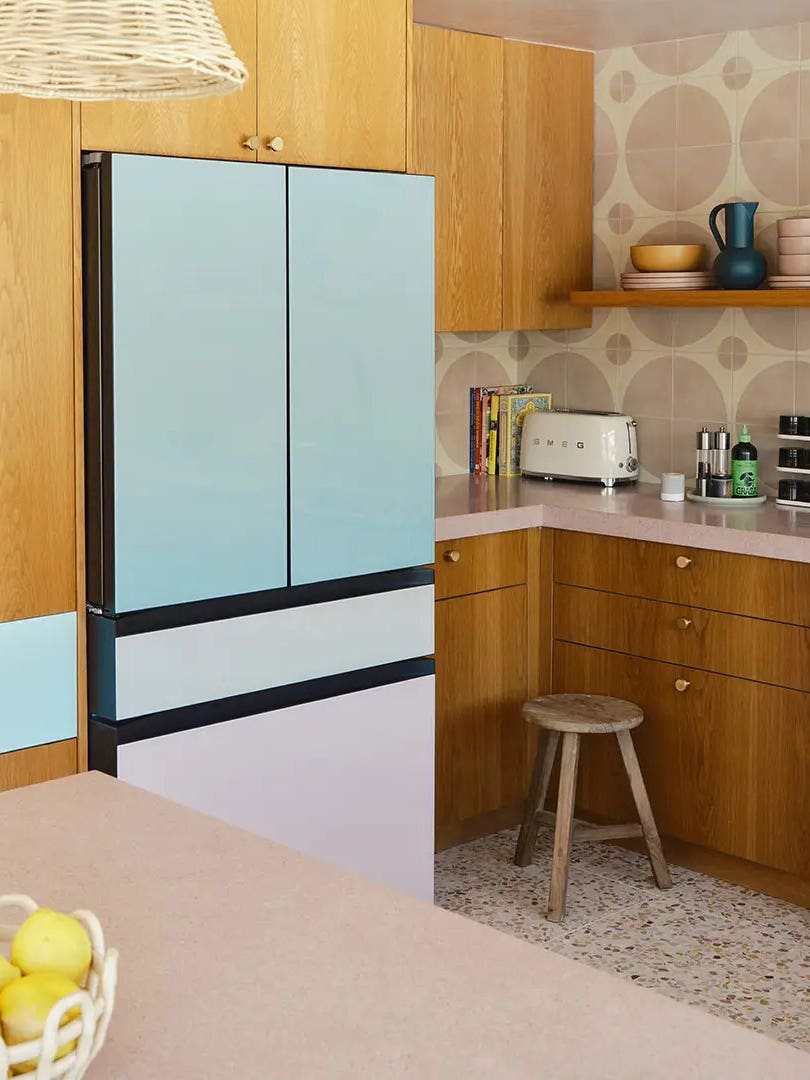
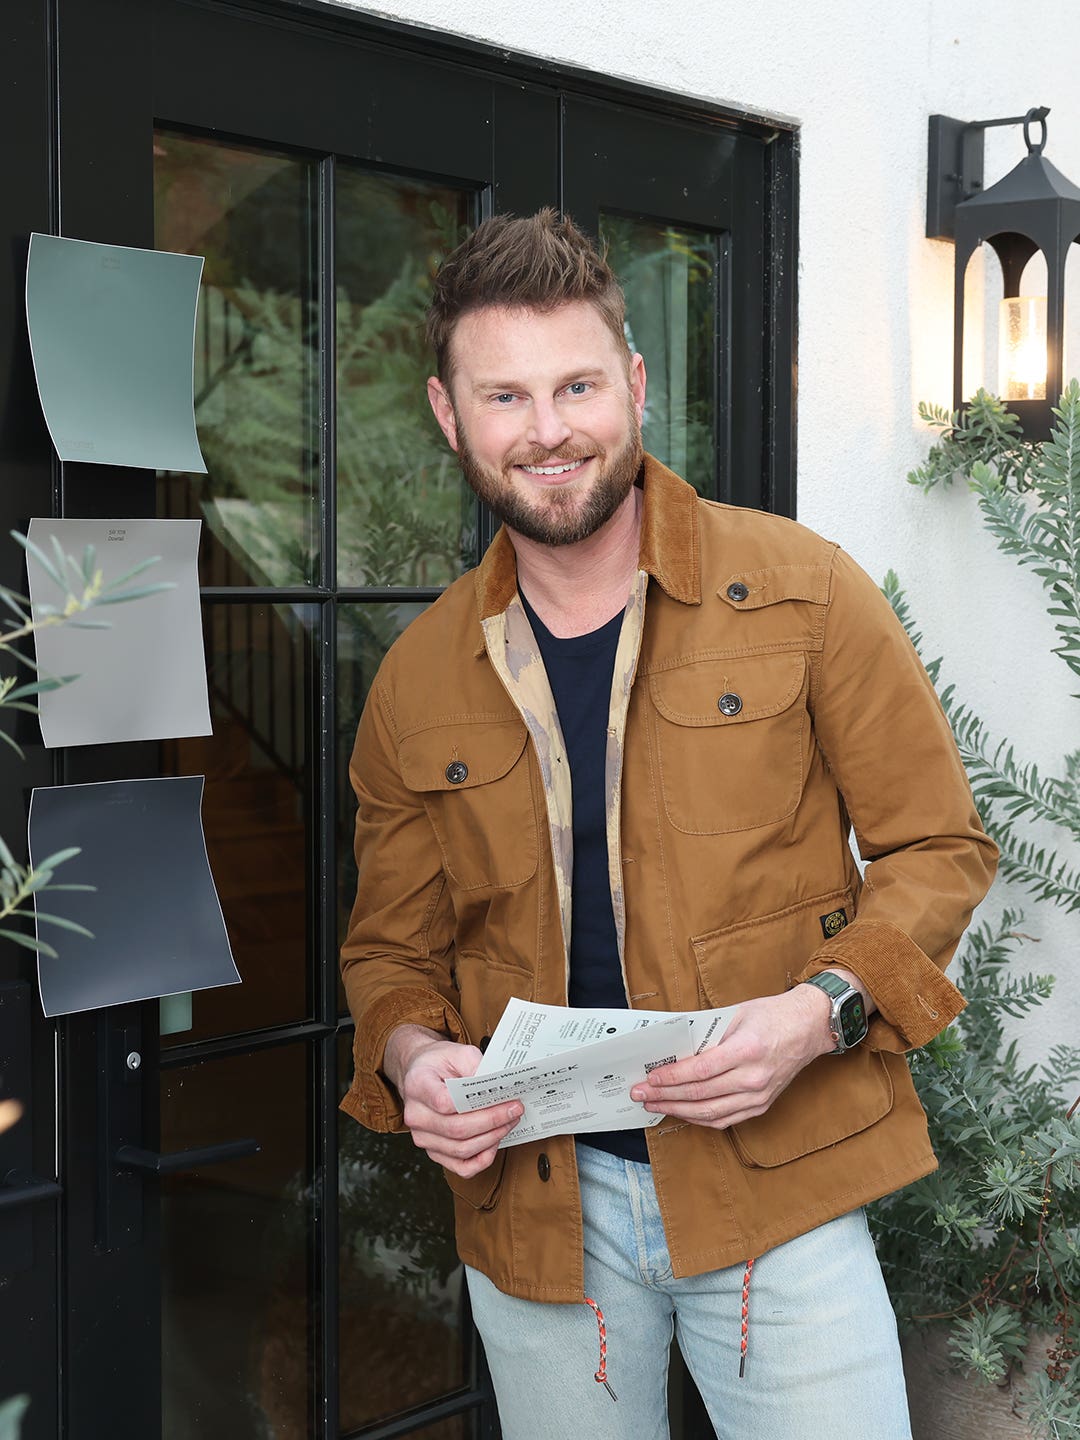
A new kind of color-of-the-year announcement.

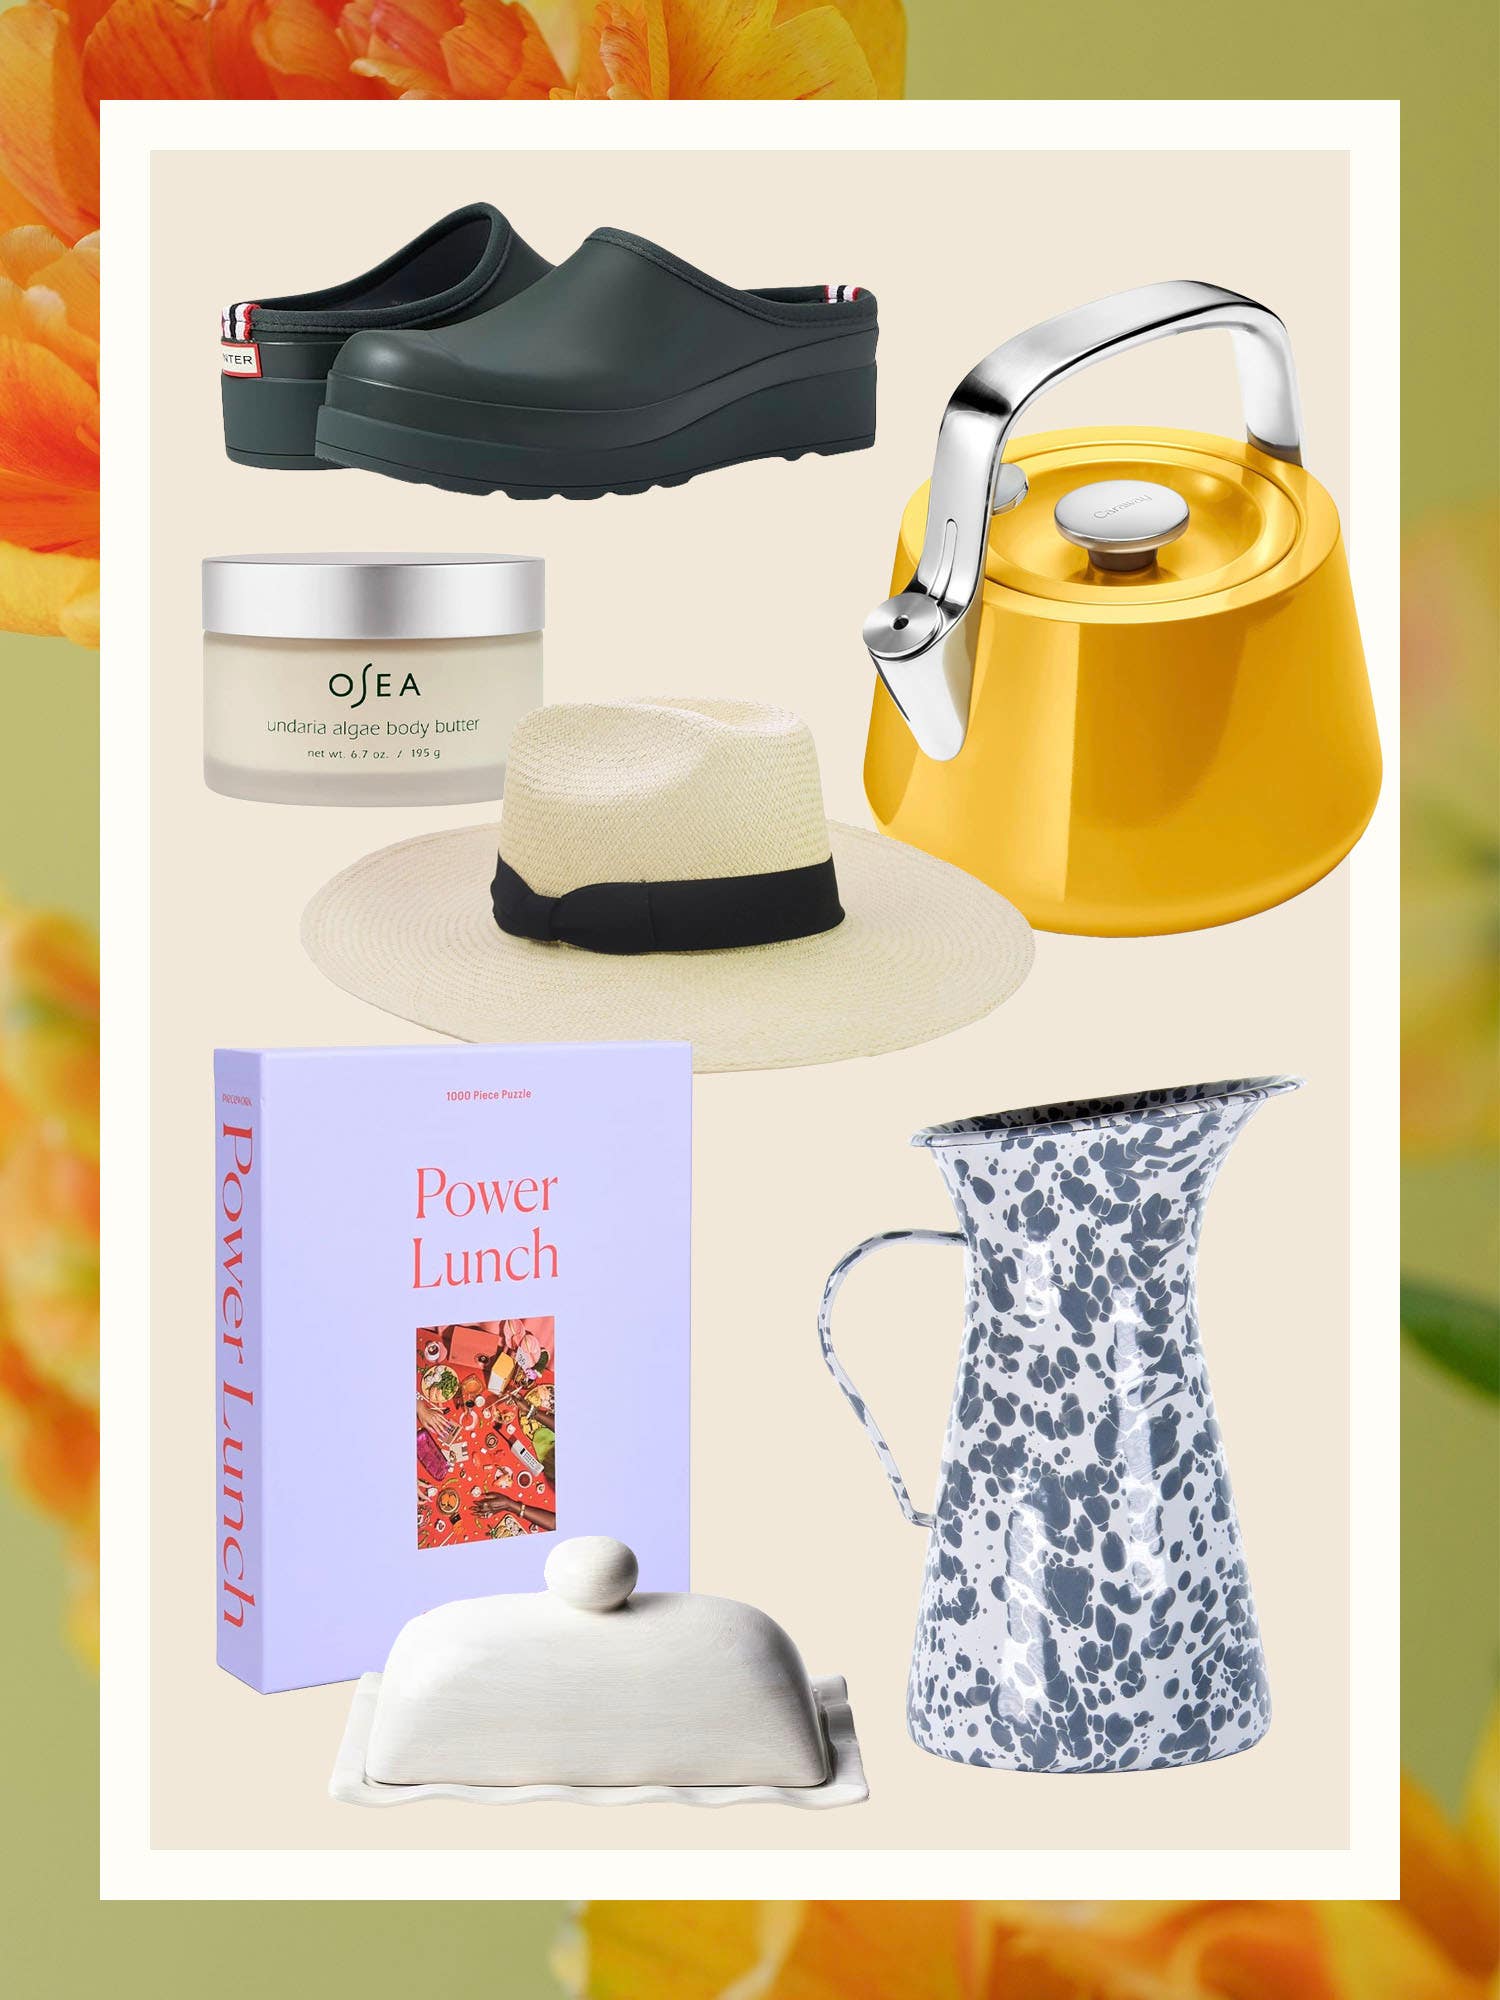
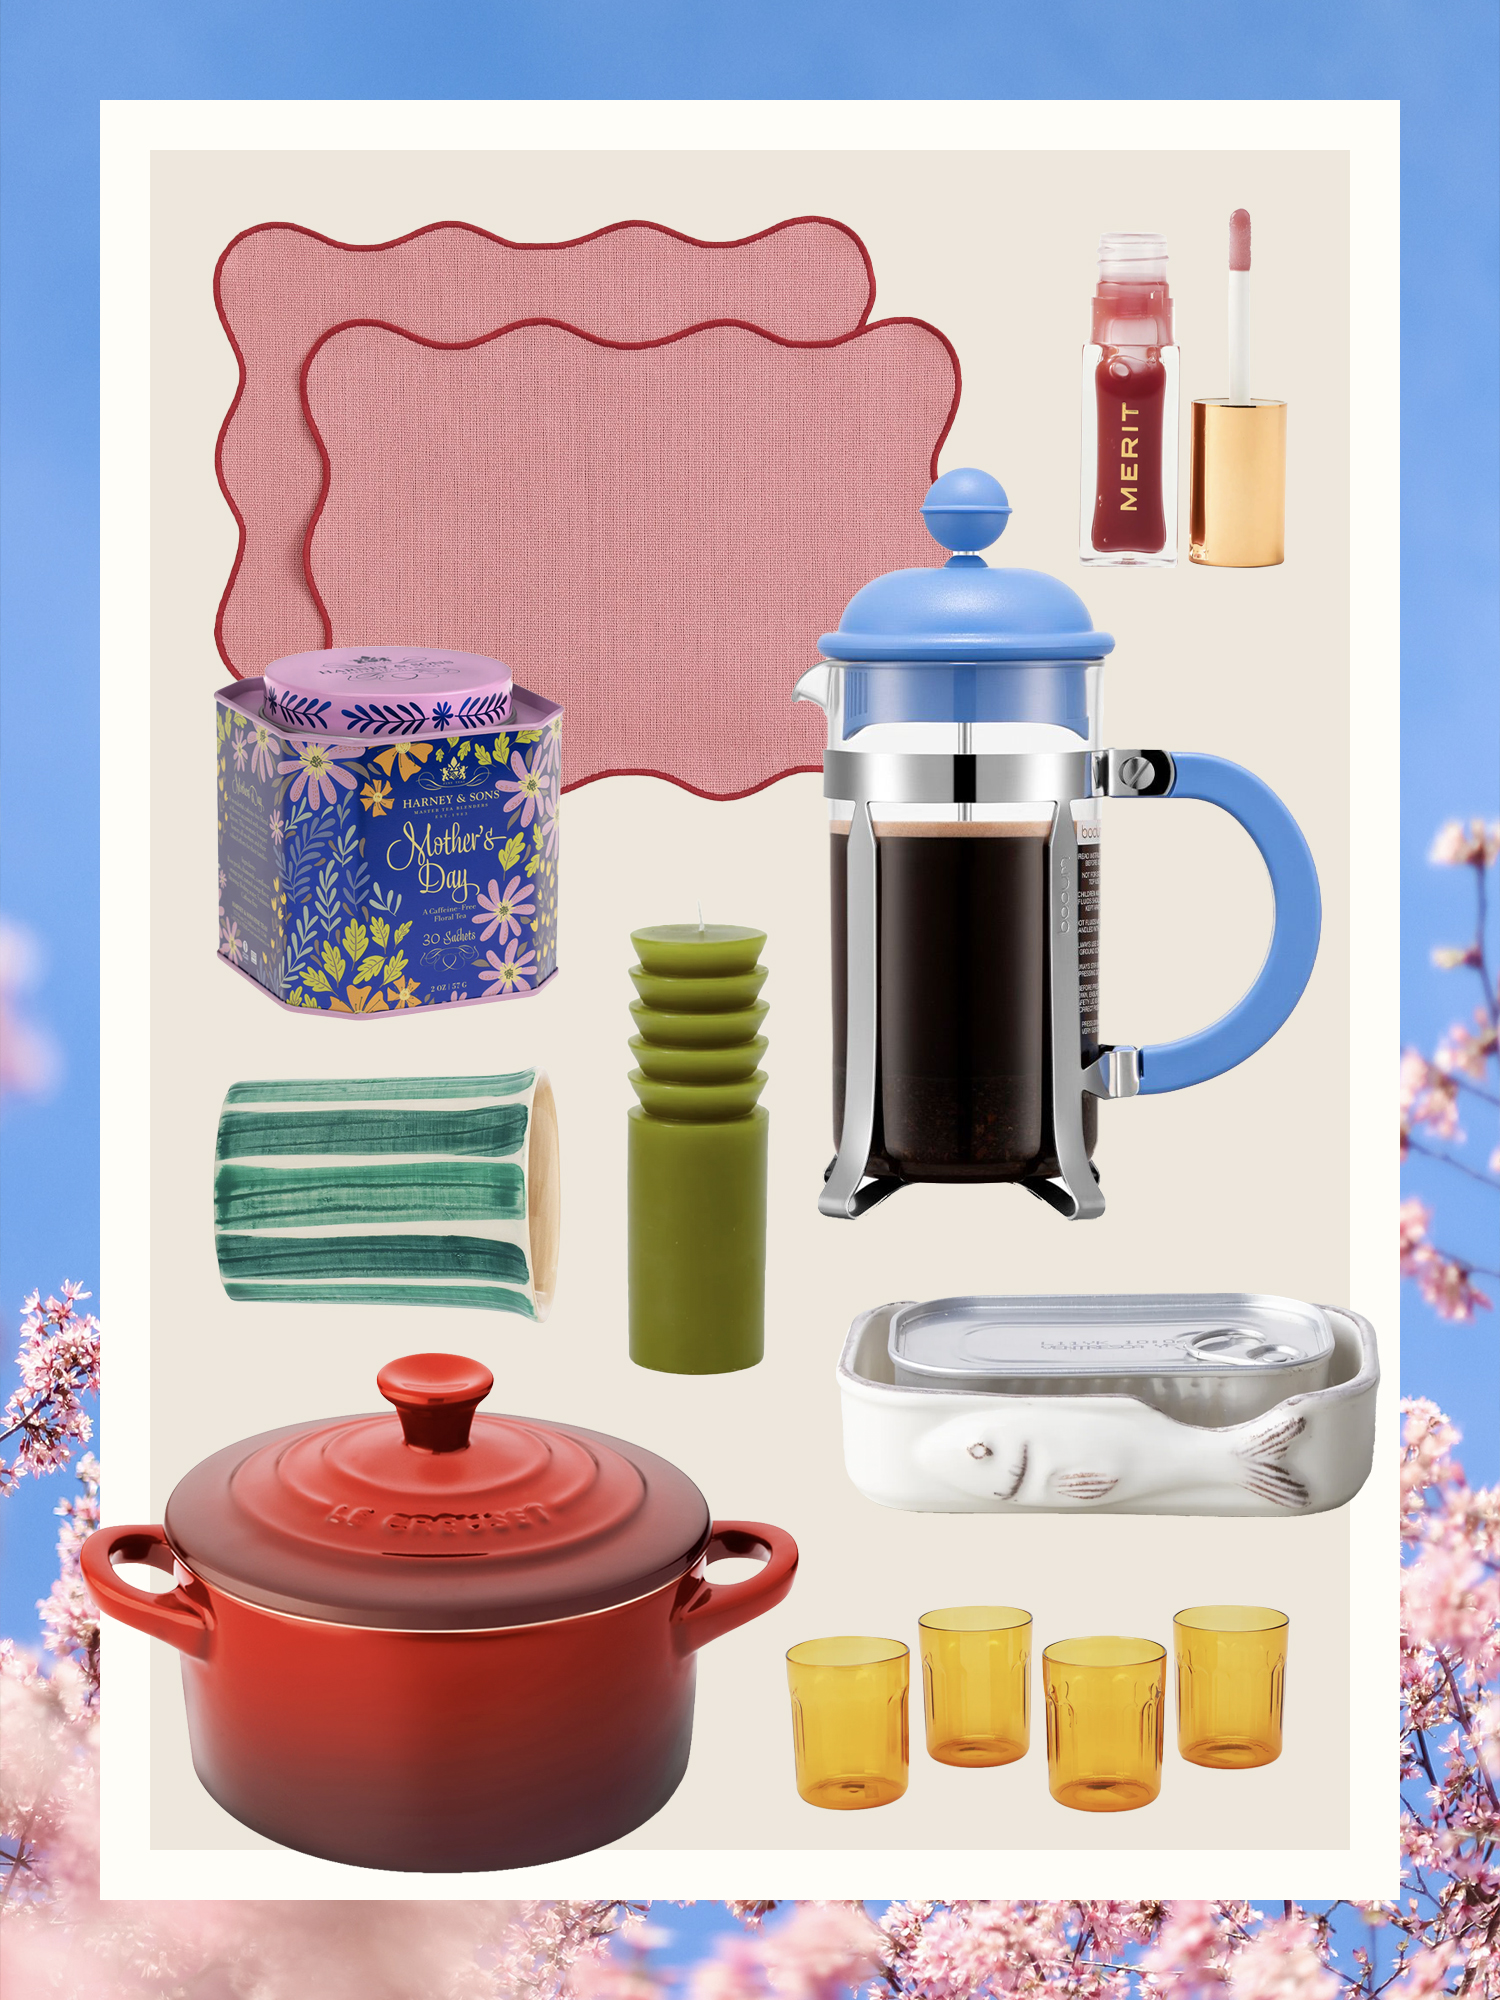
The best deals of the week are all up to 60% off.
“Opening it is our favorite party trick.”
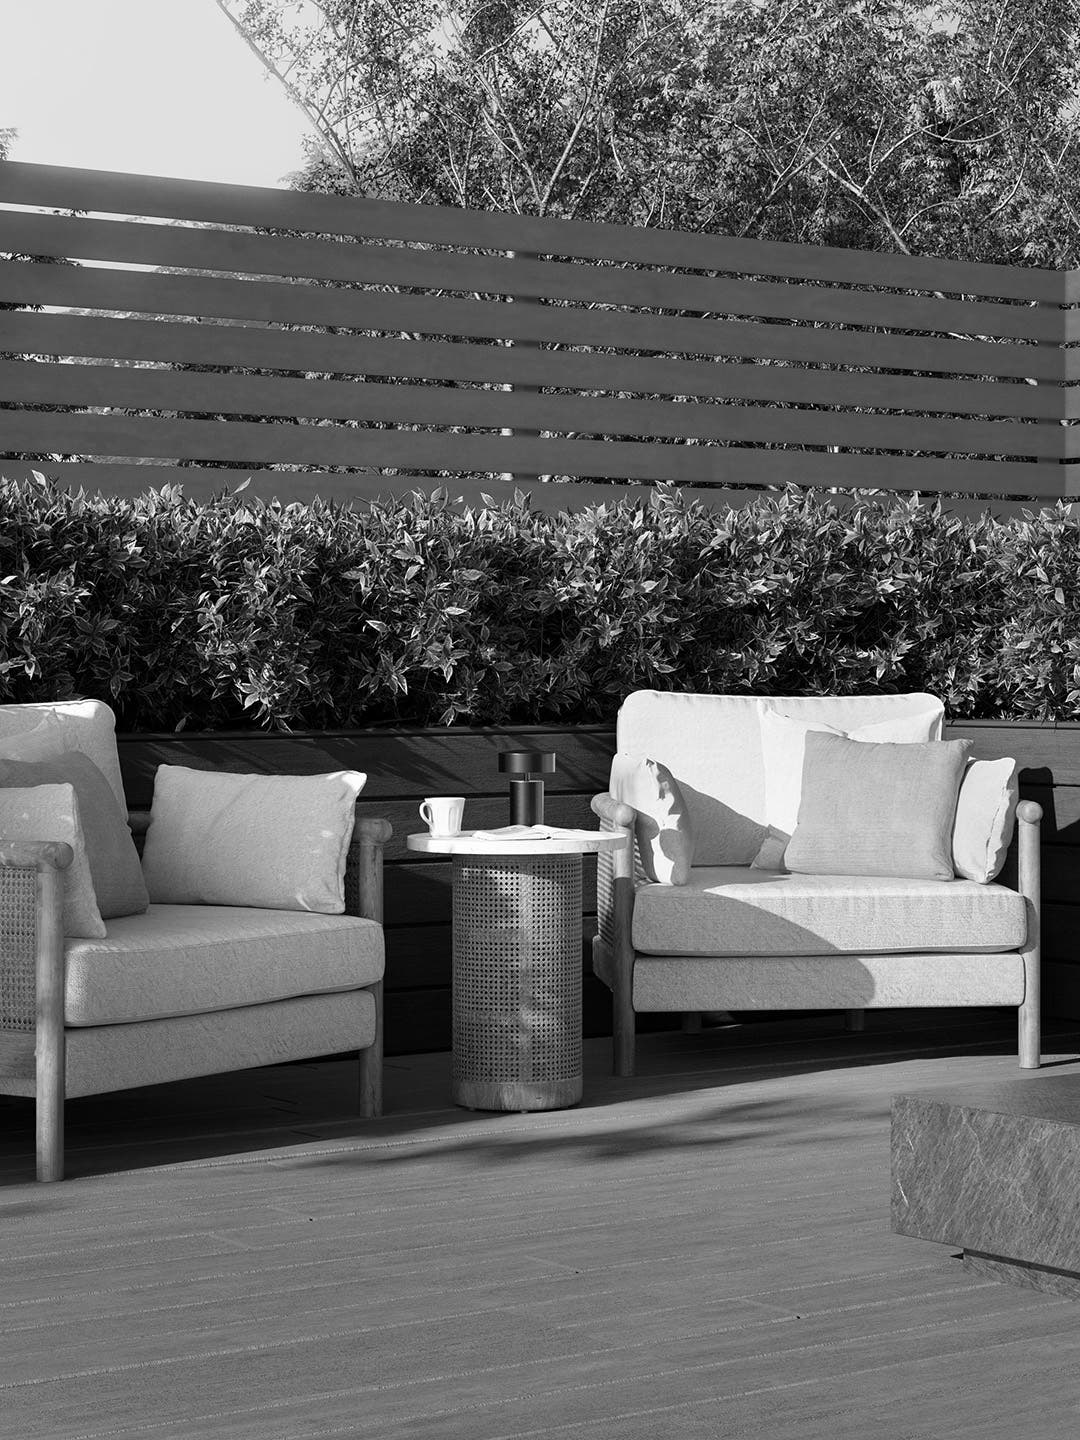
Performance fabric is one good indicator it will last.
Our ongoing roster of this season’s best.
Checked coasters, pasta pot holders, and more.
It’s finally available for preorder.
Plus how he feels about wild landscaping.

Controversial opinion: They all read like neutrals.
Not a single one is in California.
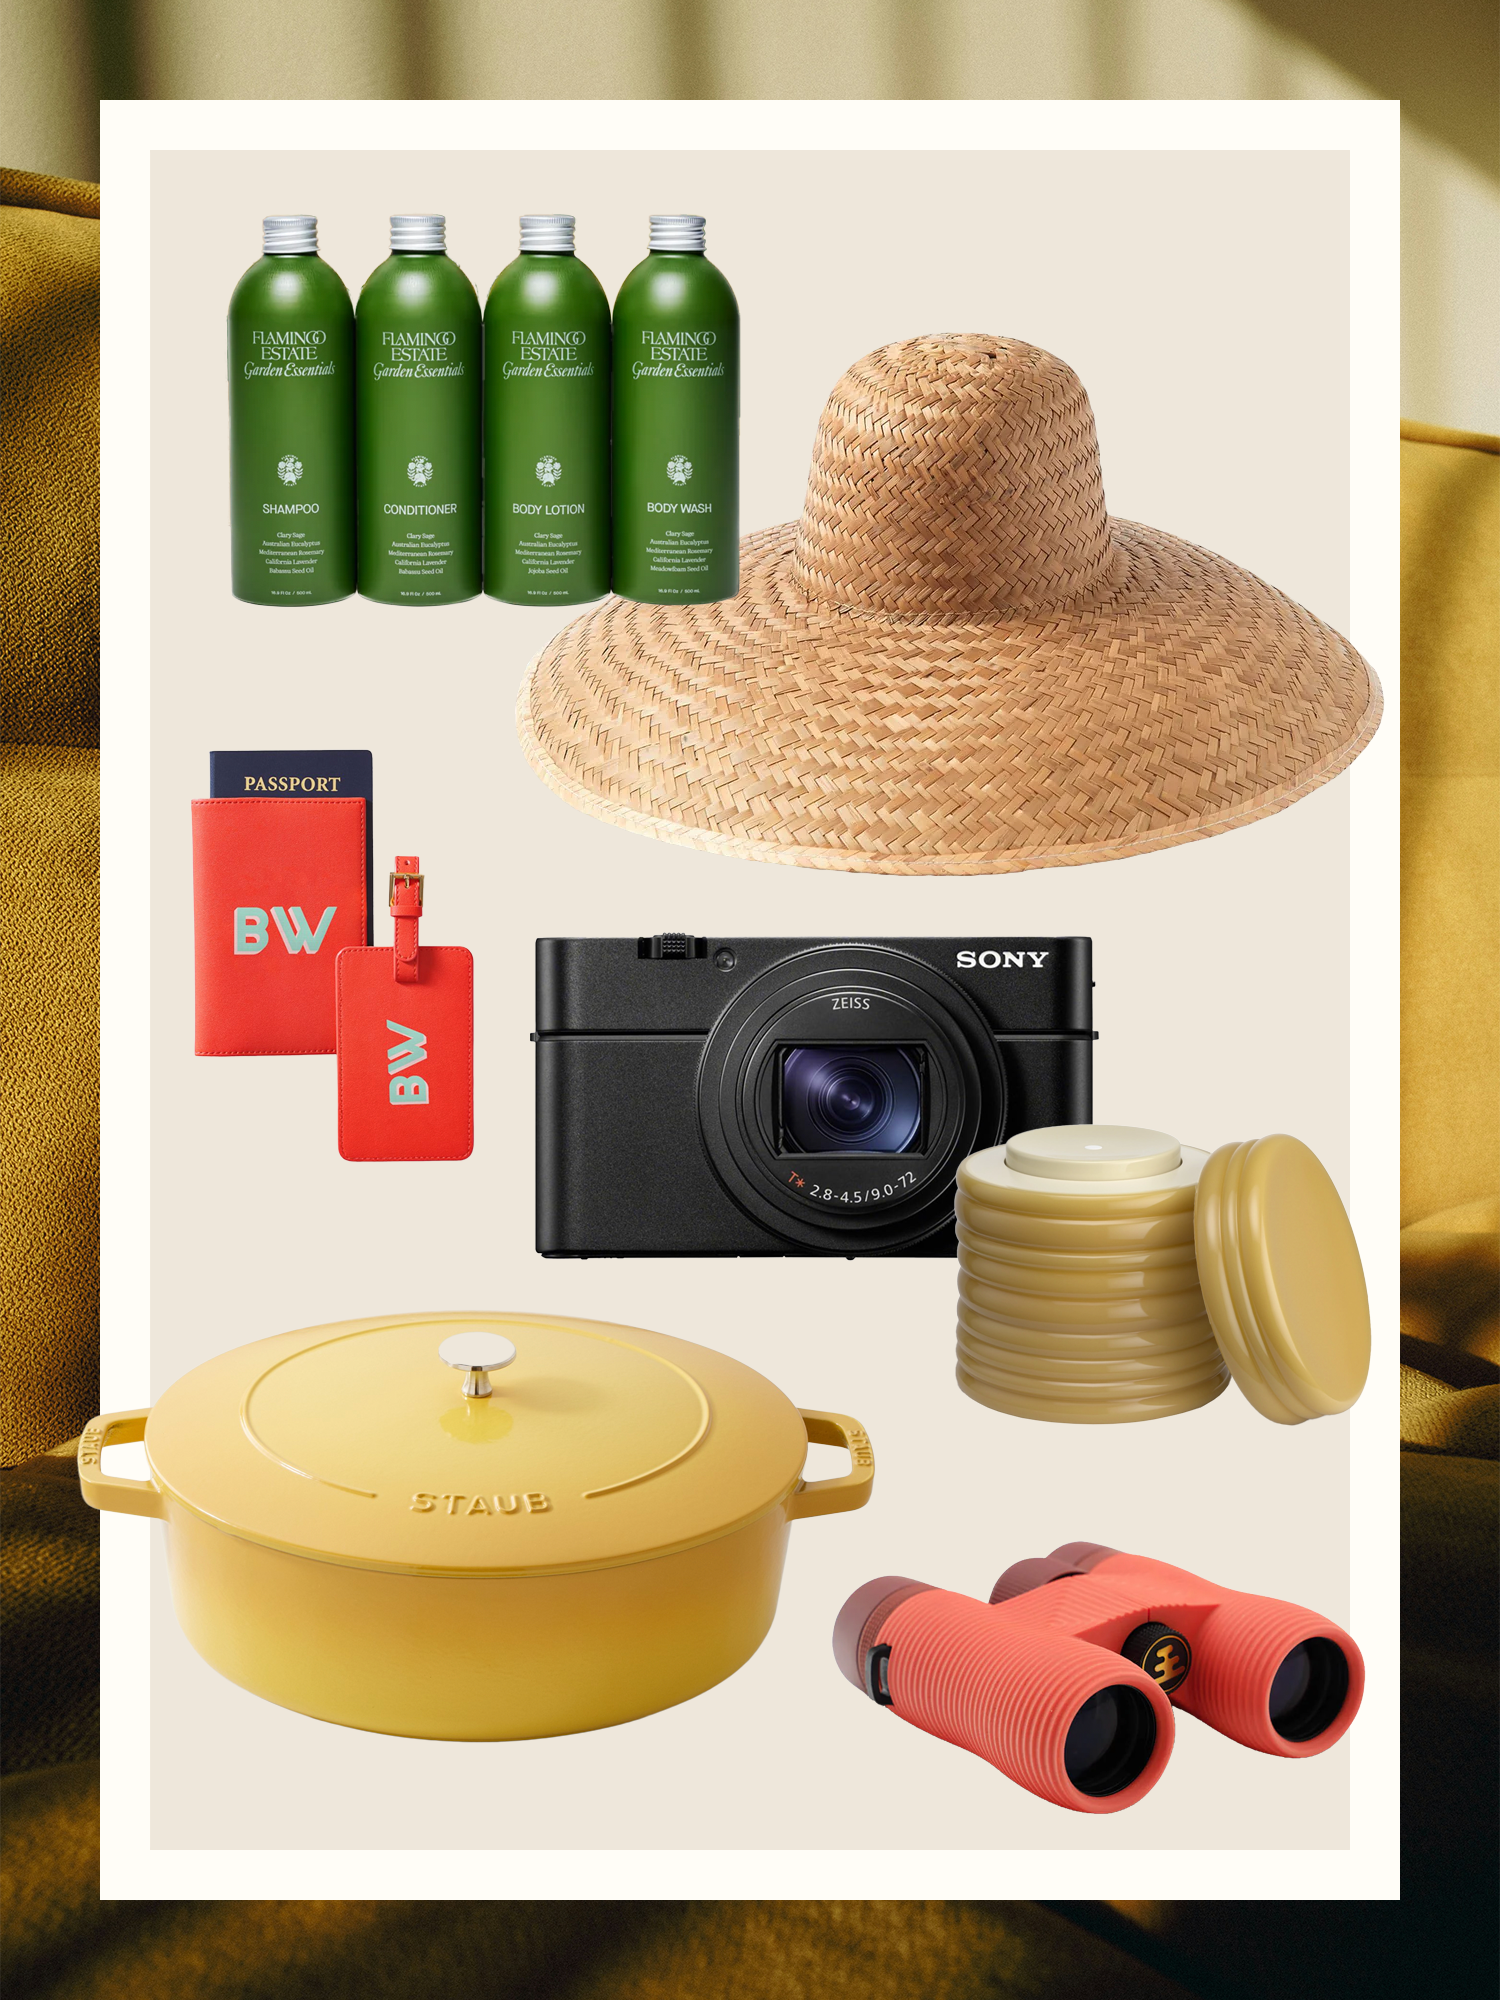
Bedroom upgrades, travel essentials, and much more.
One hides kids’ stuff; another the TV.
One doesn’t cost a cent.