
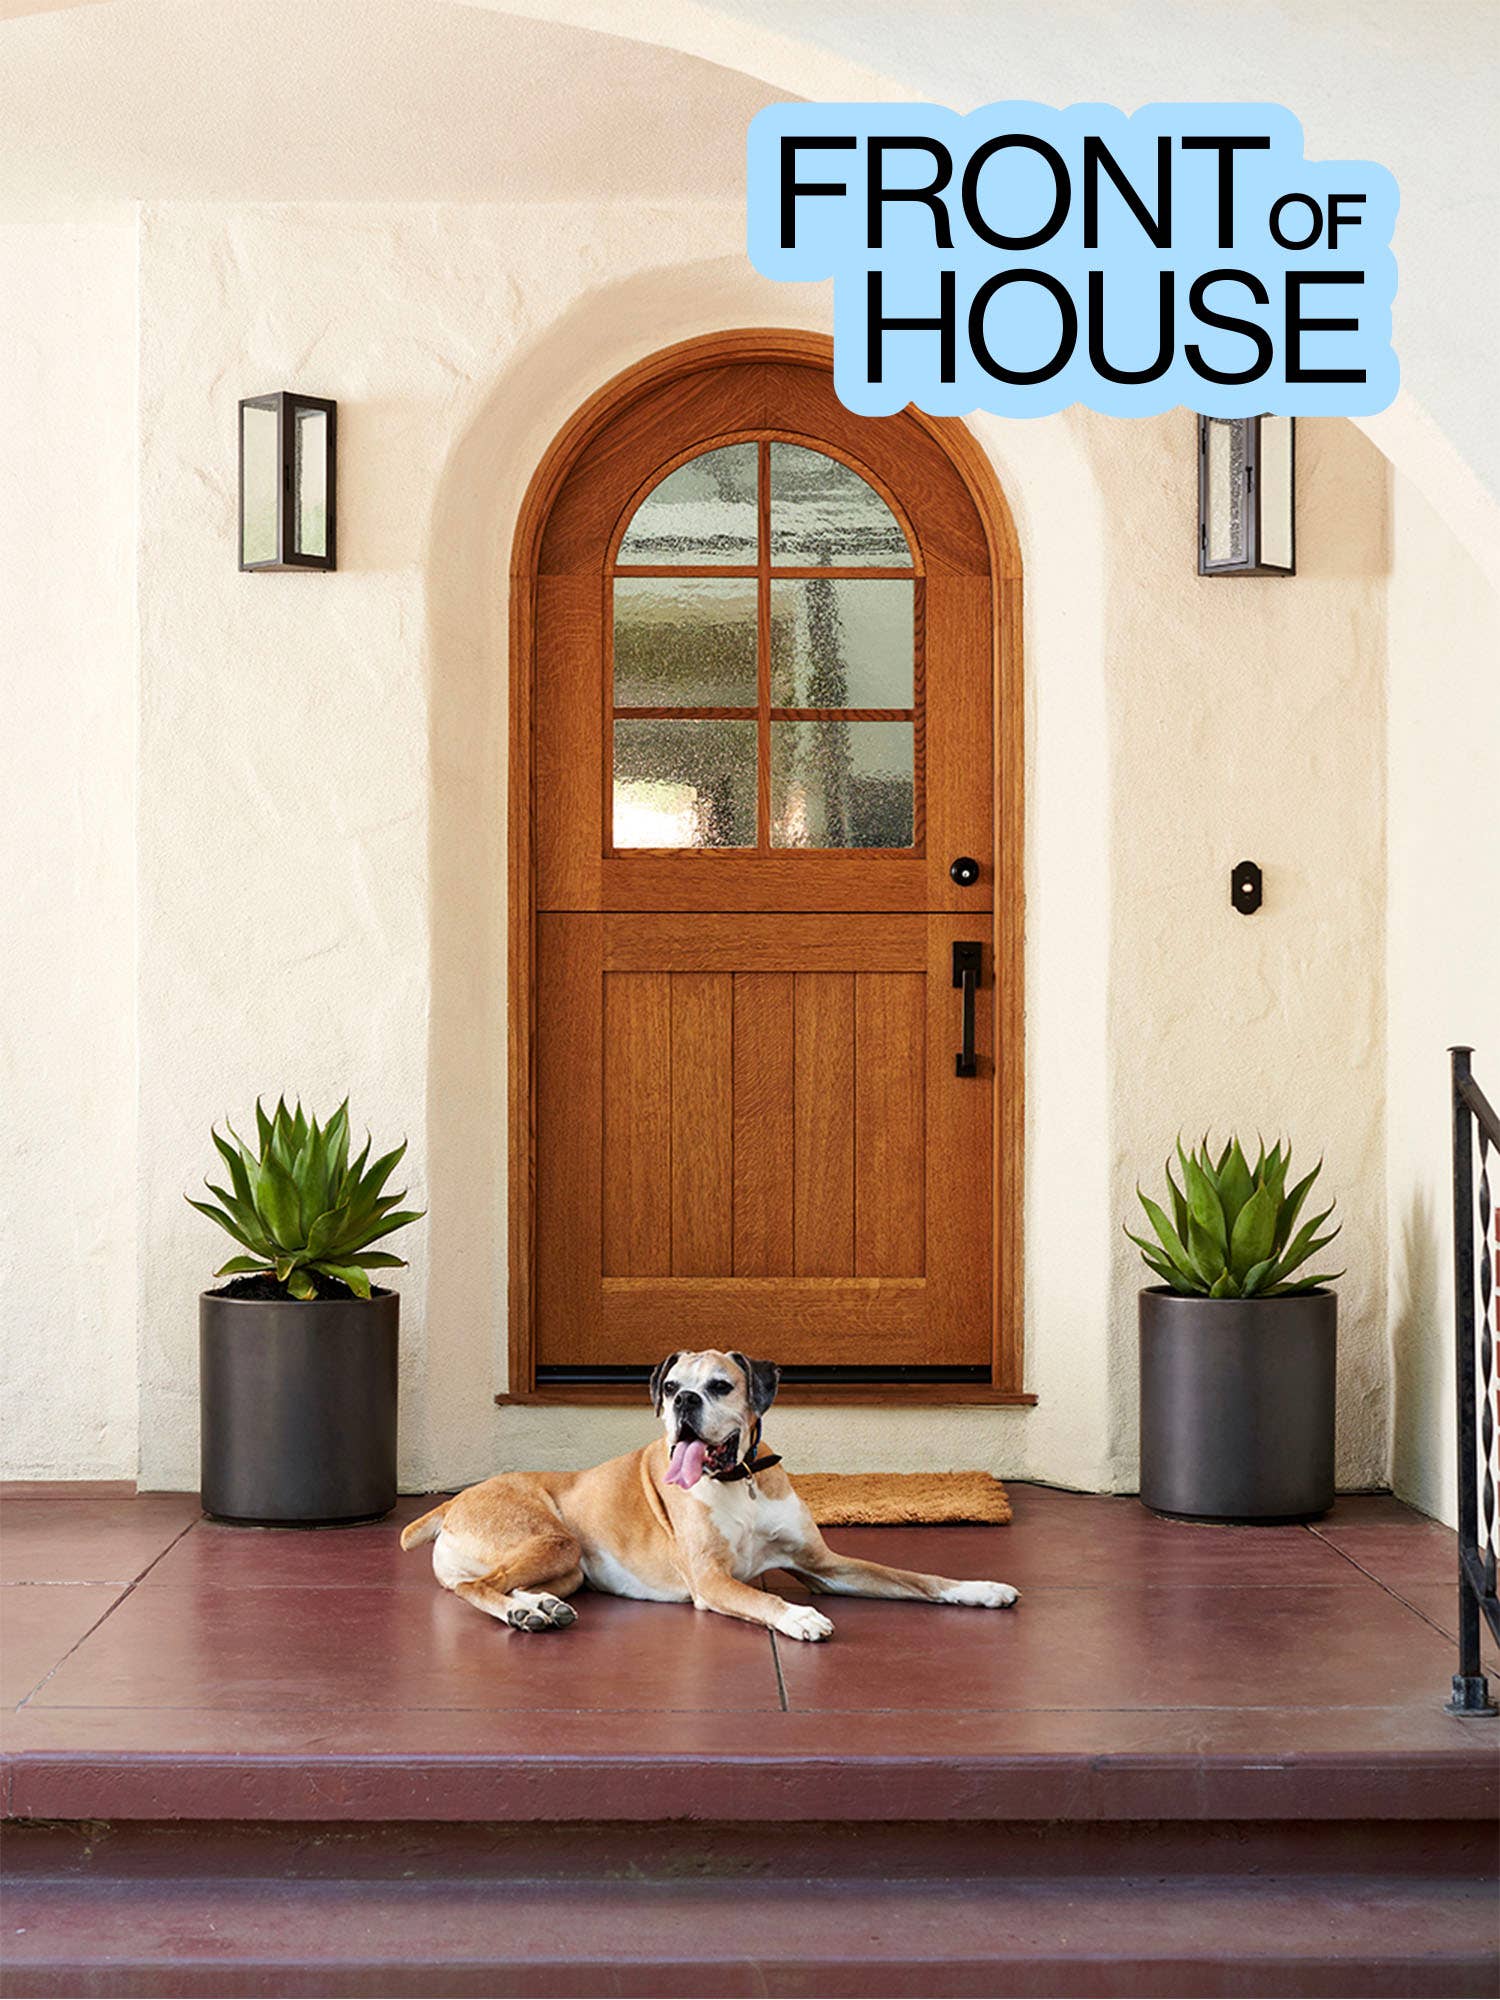
One Year Later, Here’s How My Front Door’s Stylish Smart Lock Is Holding Up
Plus my thoughts on its latest Wi-Fi accessory.
Plus my thoughts on its latest Wi-Fi accessory.
Starring this material of the moment.
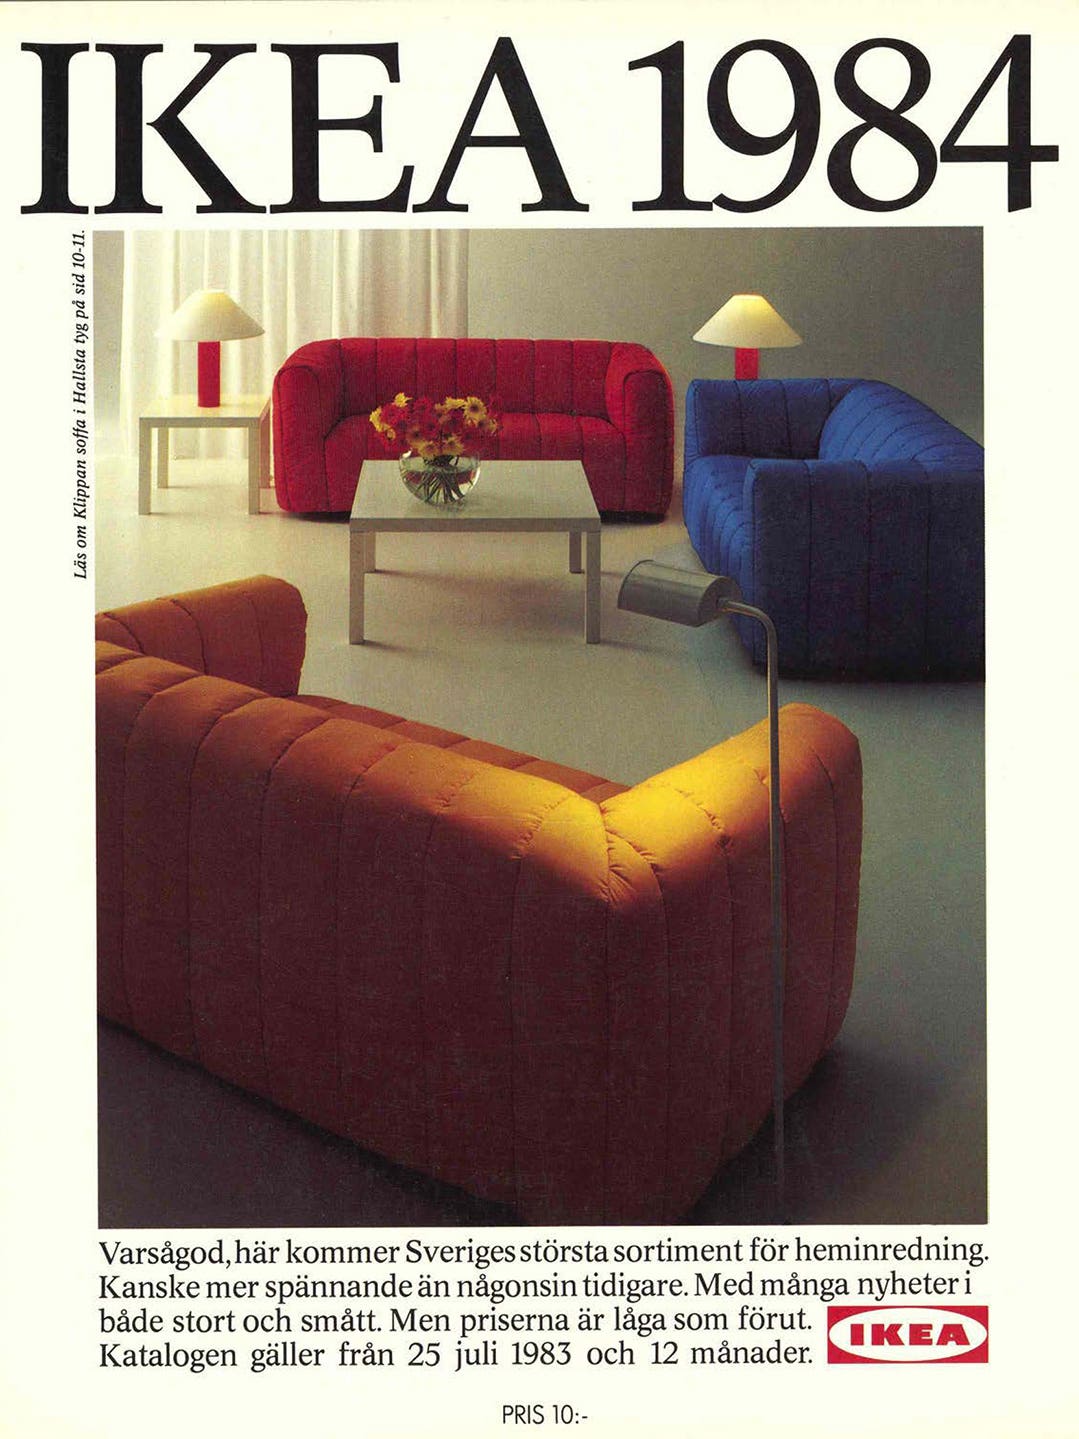
One was even a catalog cover star.

Here’s everything we’re eyeing during the annual sale.
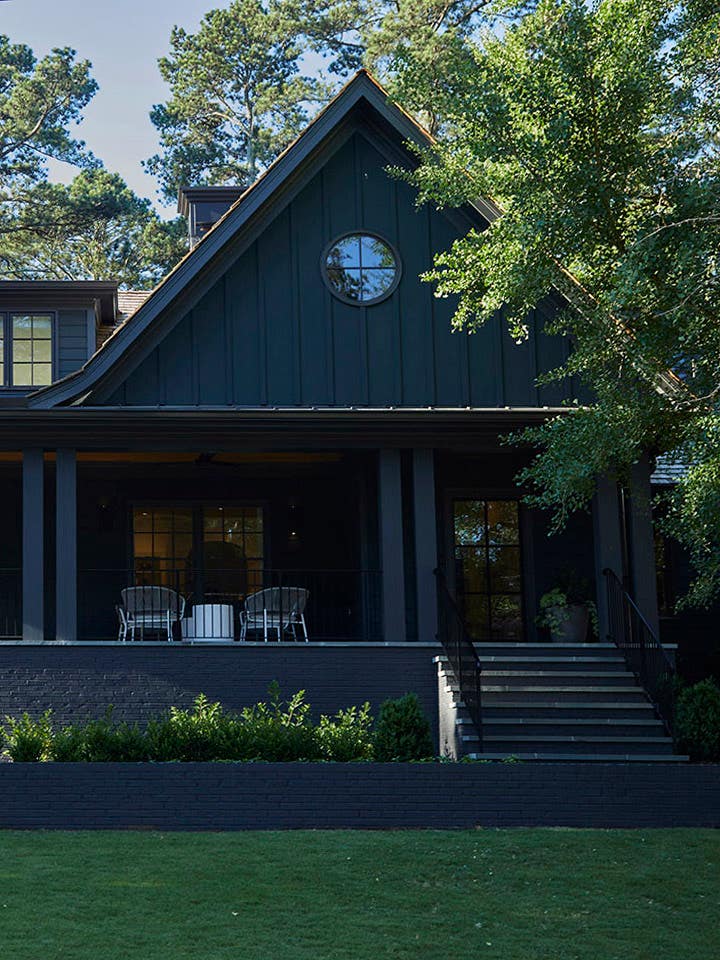
We’re calling it: This hue is the next Dead Salmon.
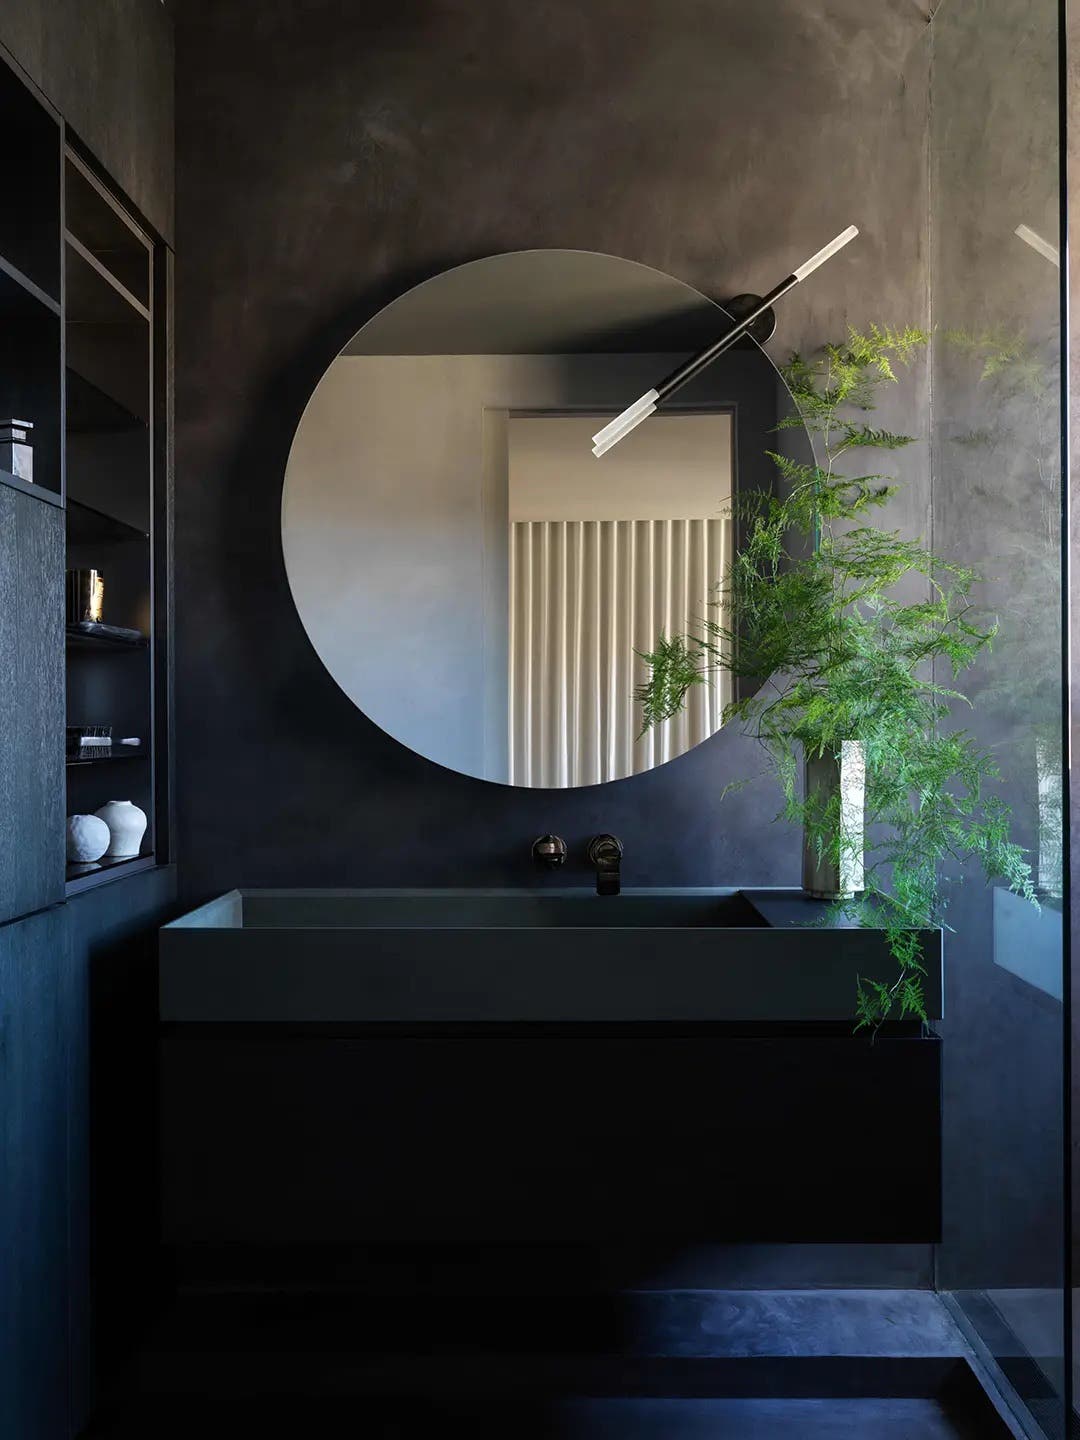
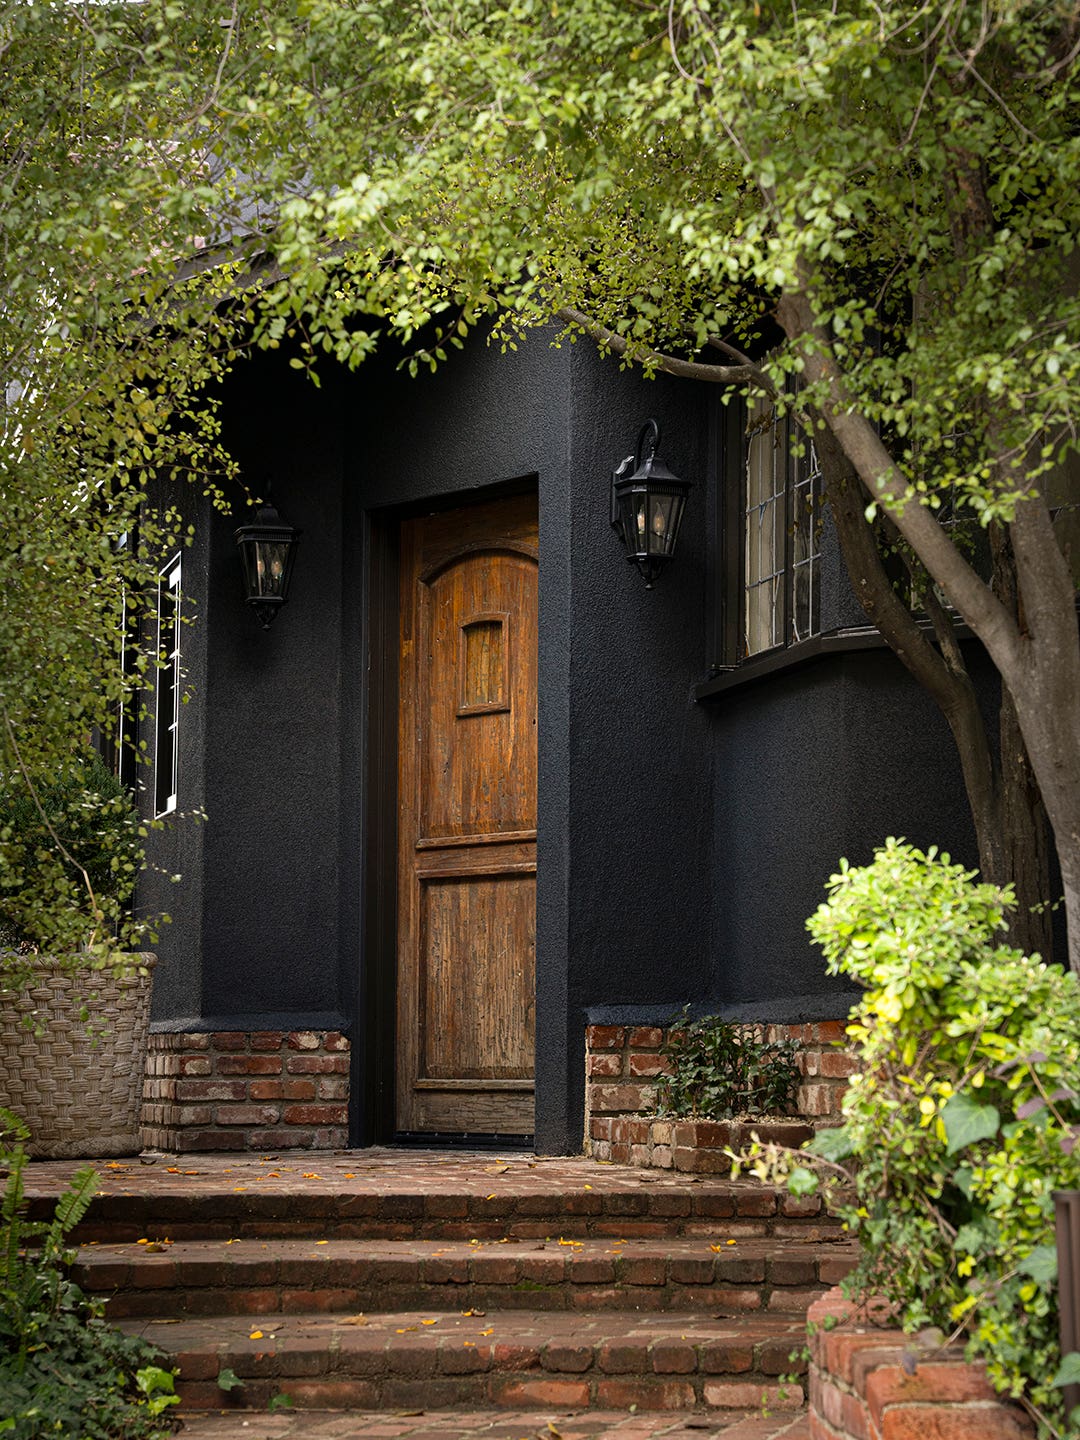
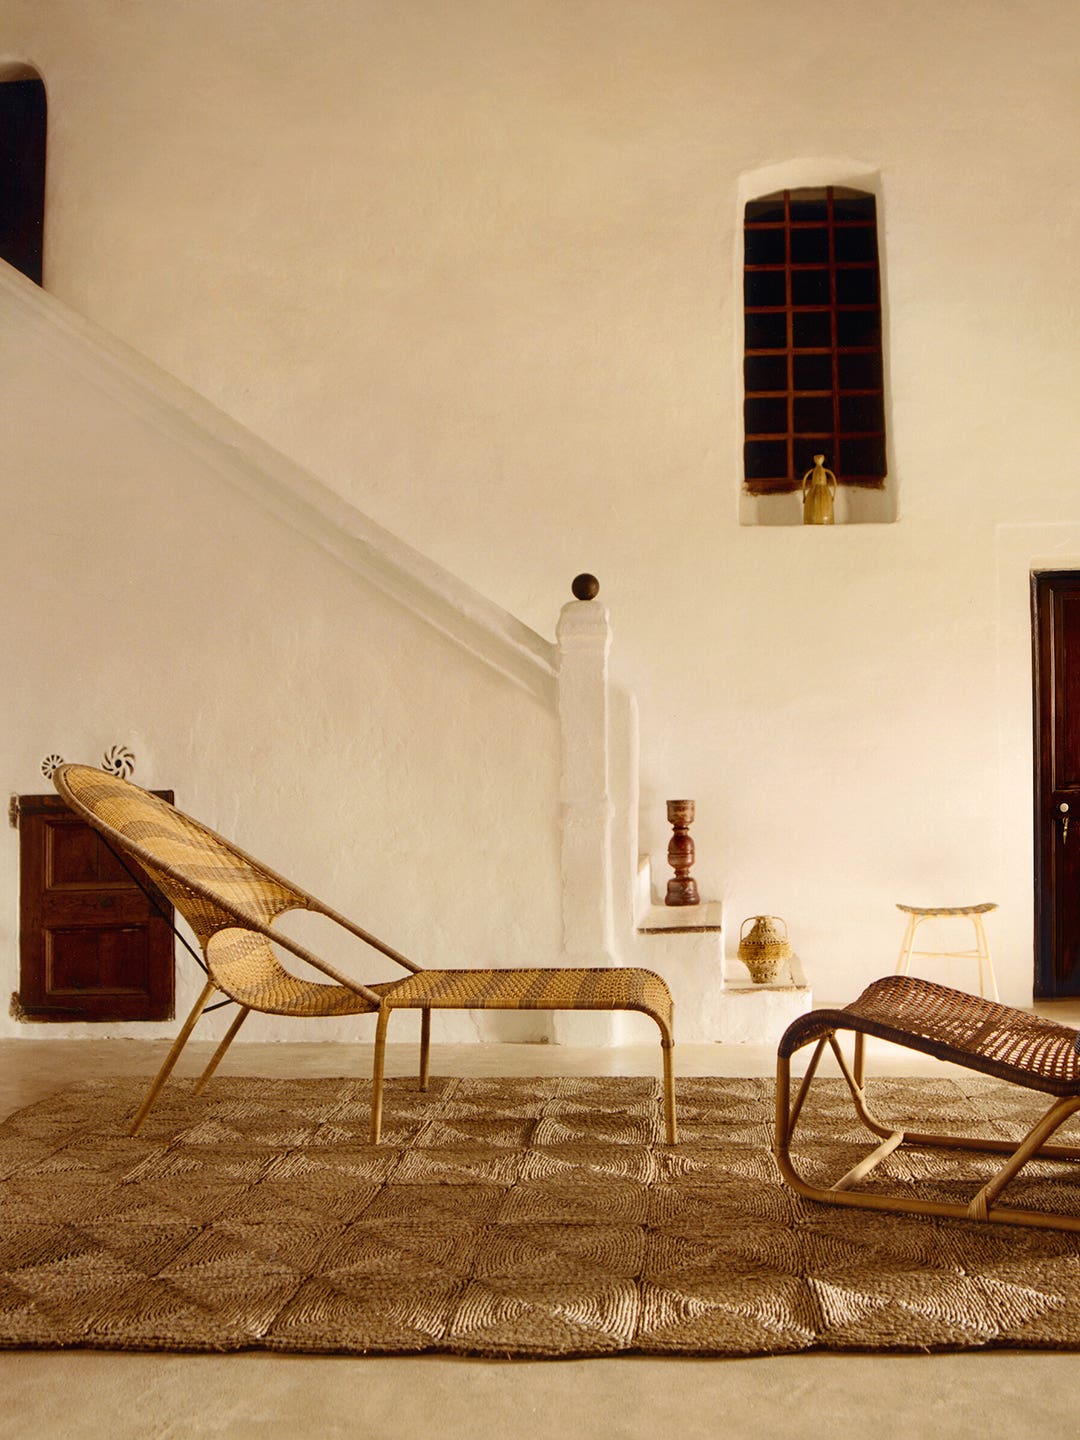
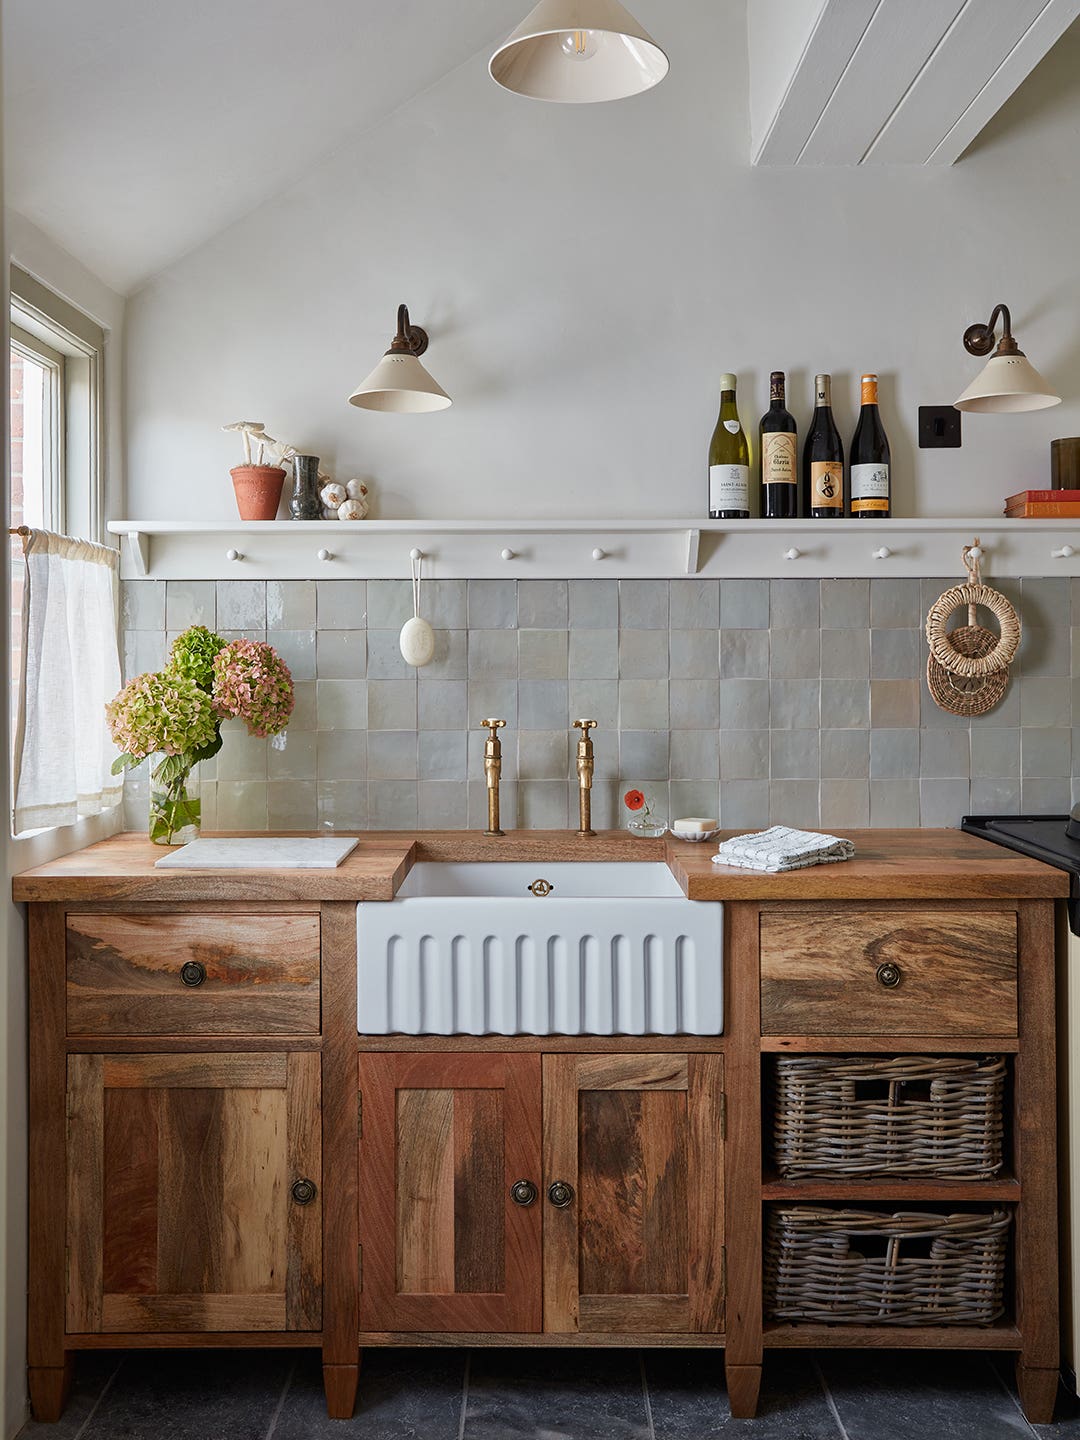
Green zellige and black limewash can be just as serene.

This cookbook author always reaches for it post-cocktail testing.
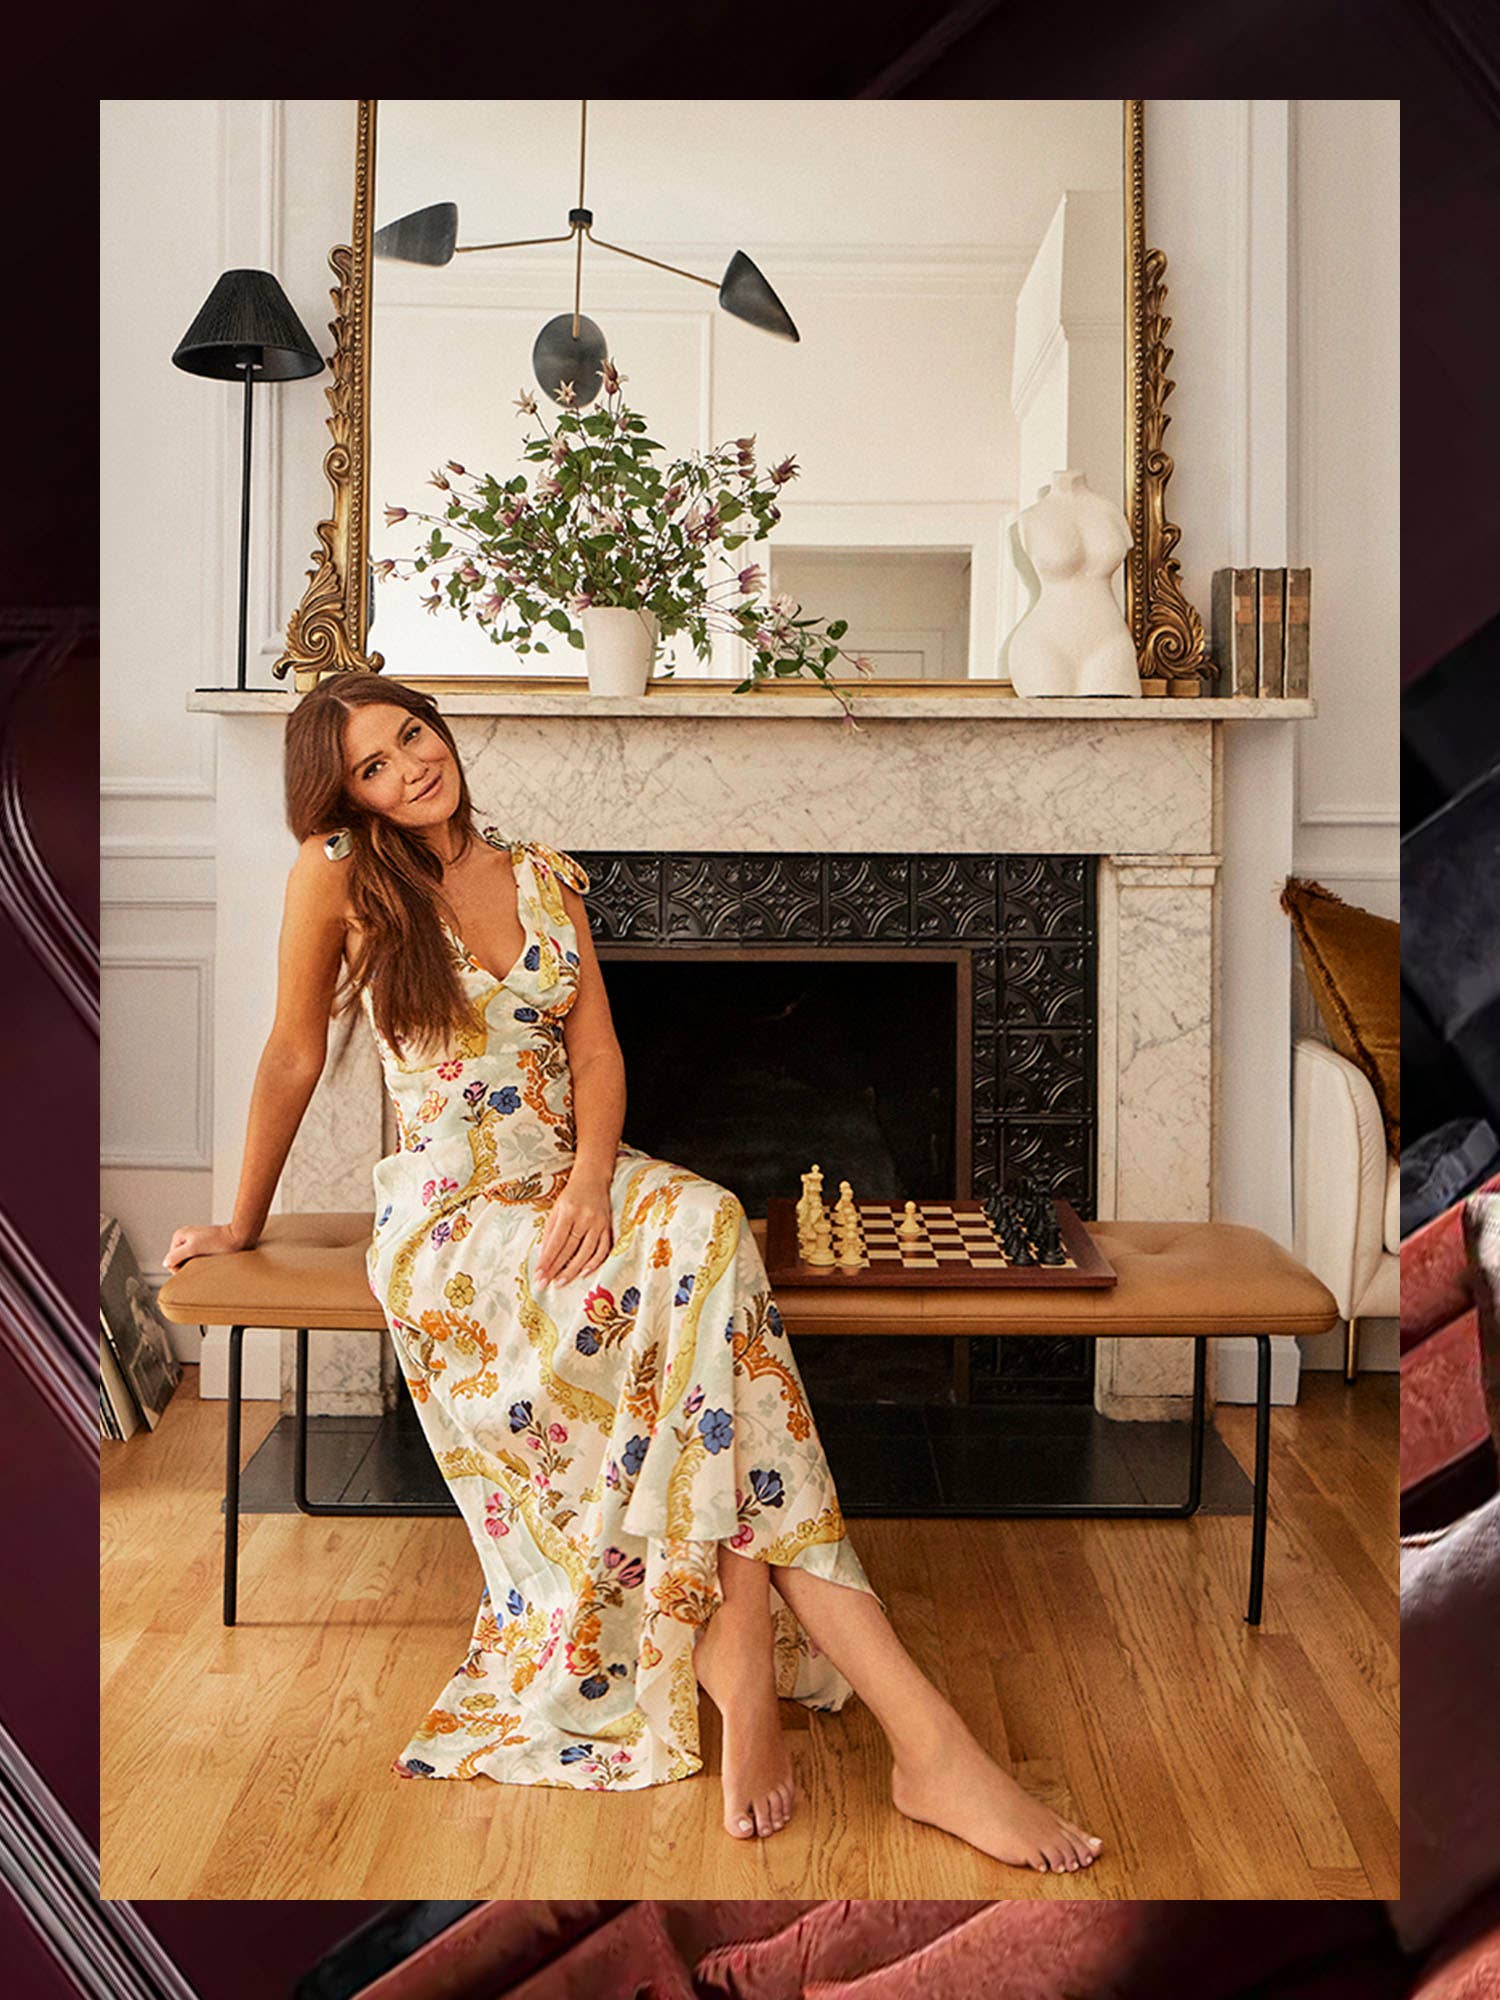
Whether she’s an entertaining wiz or a gardenista.
The next generation of homeowners is surprising us all.
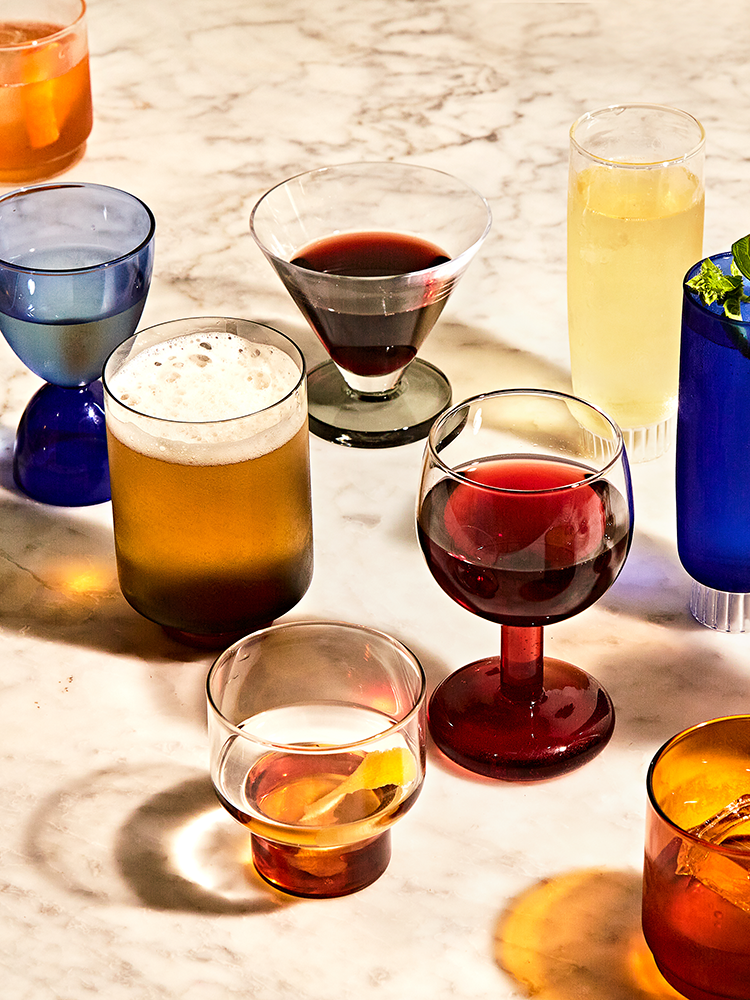
A $20 foursome of Italian martini coupes is just one of our favorites.
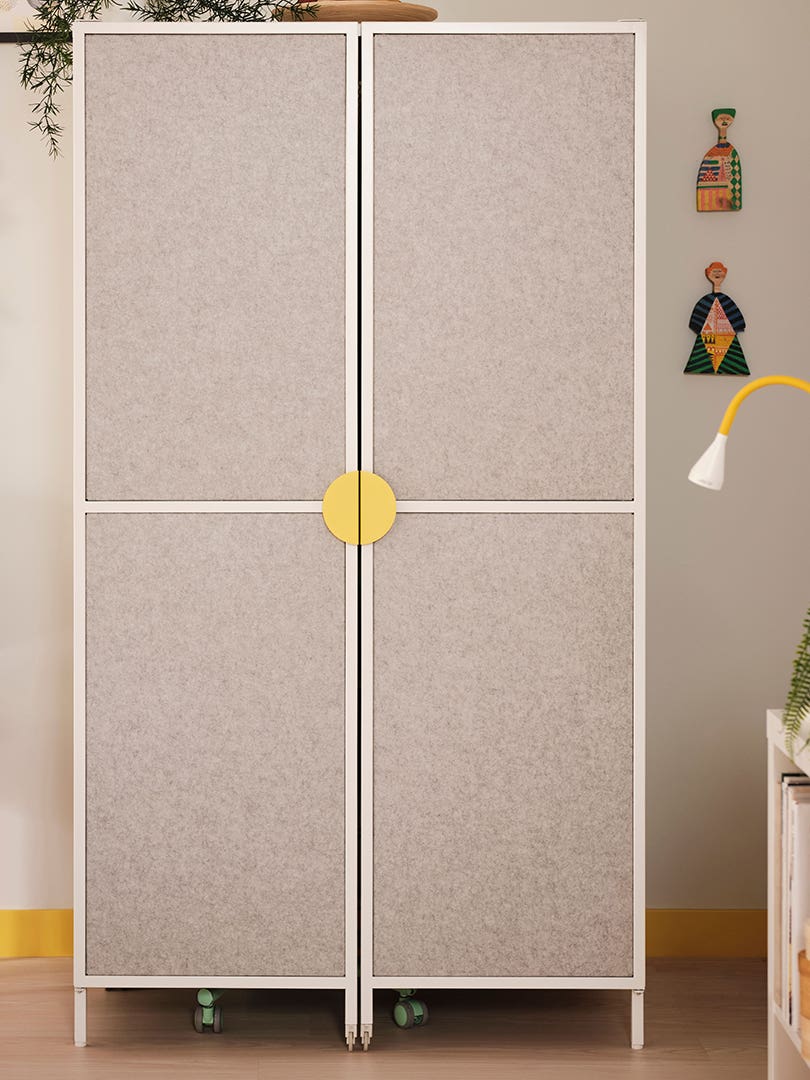
Hide your WFH on the weekends.

And made concrete look warm and inviting.
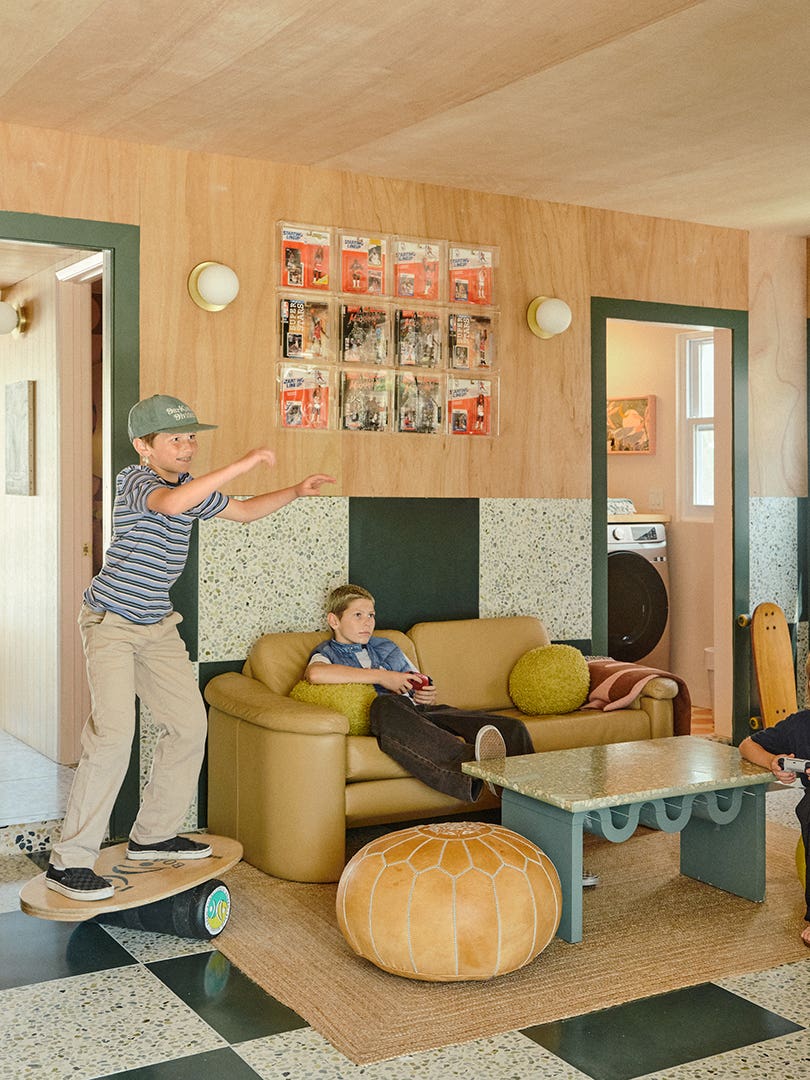
Obviously there was terrazzo involved.

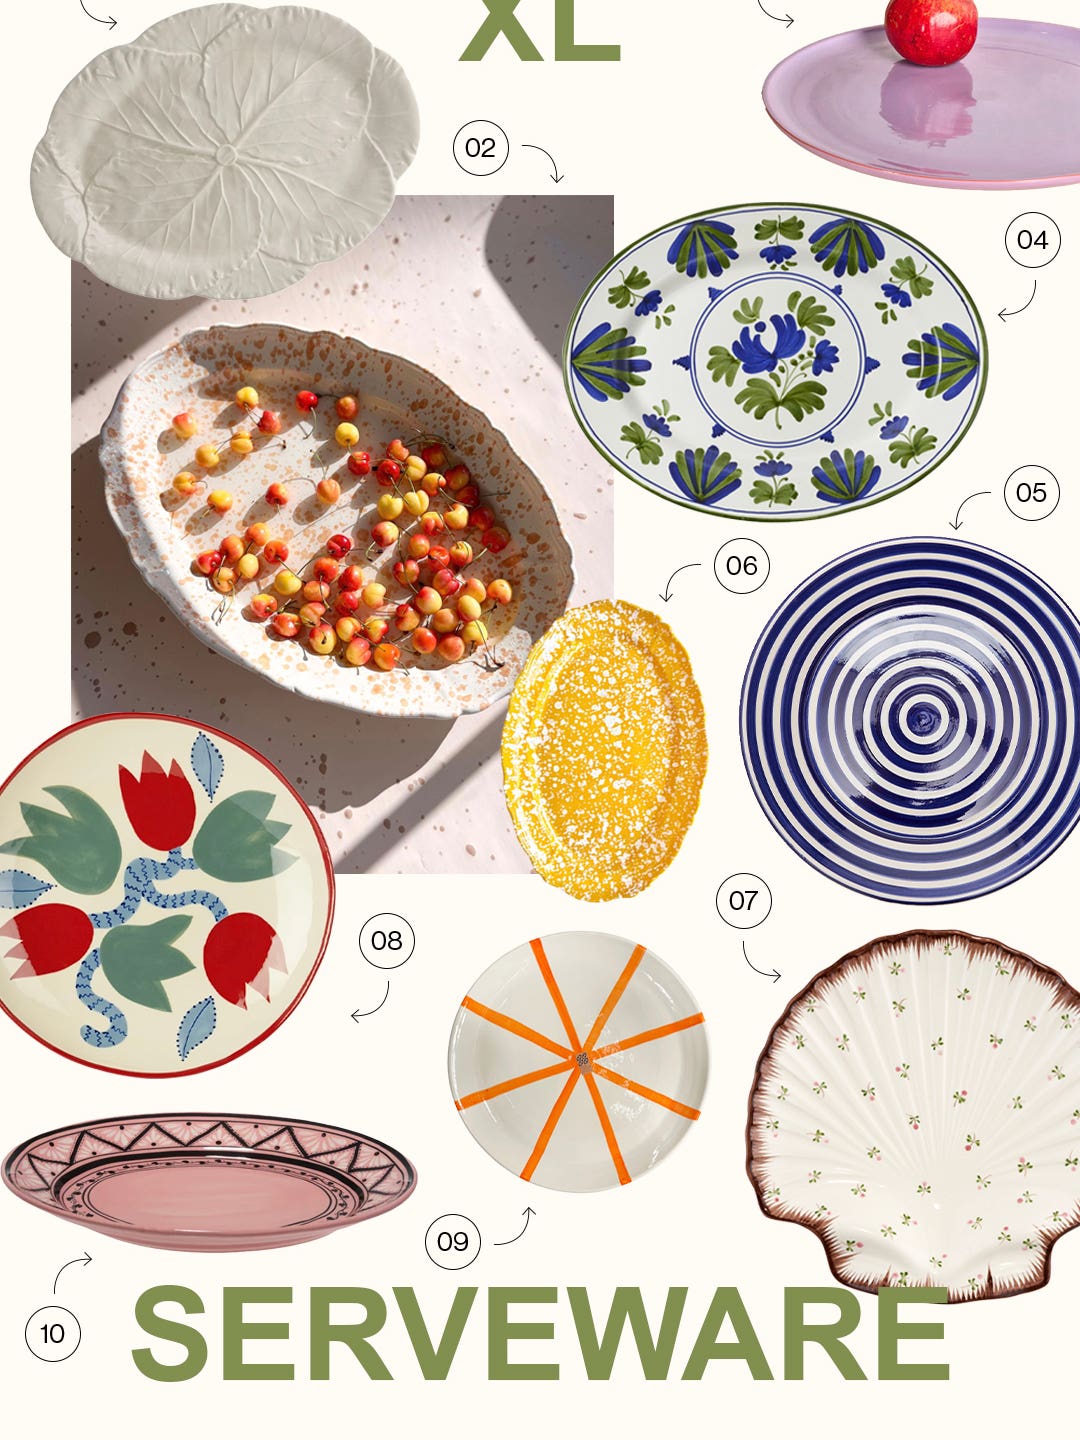
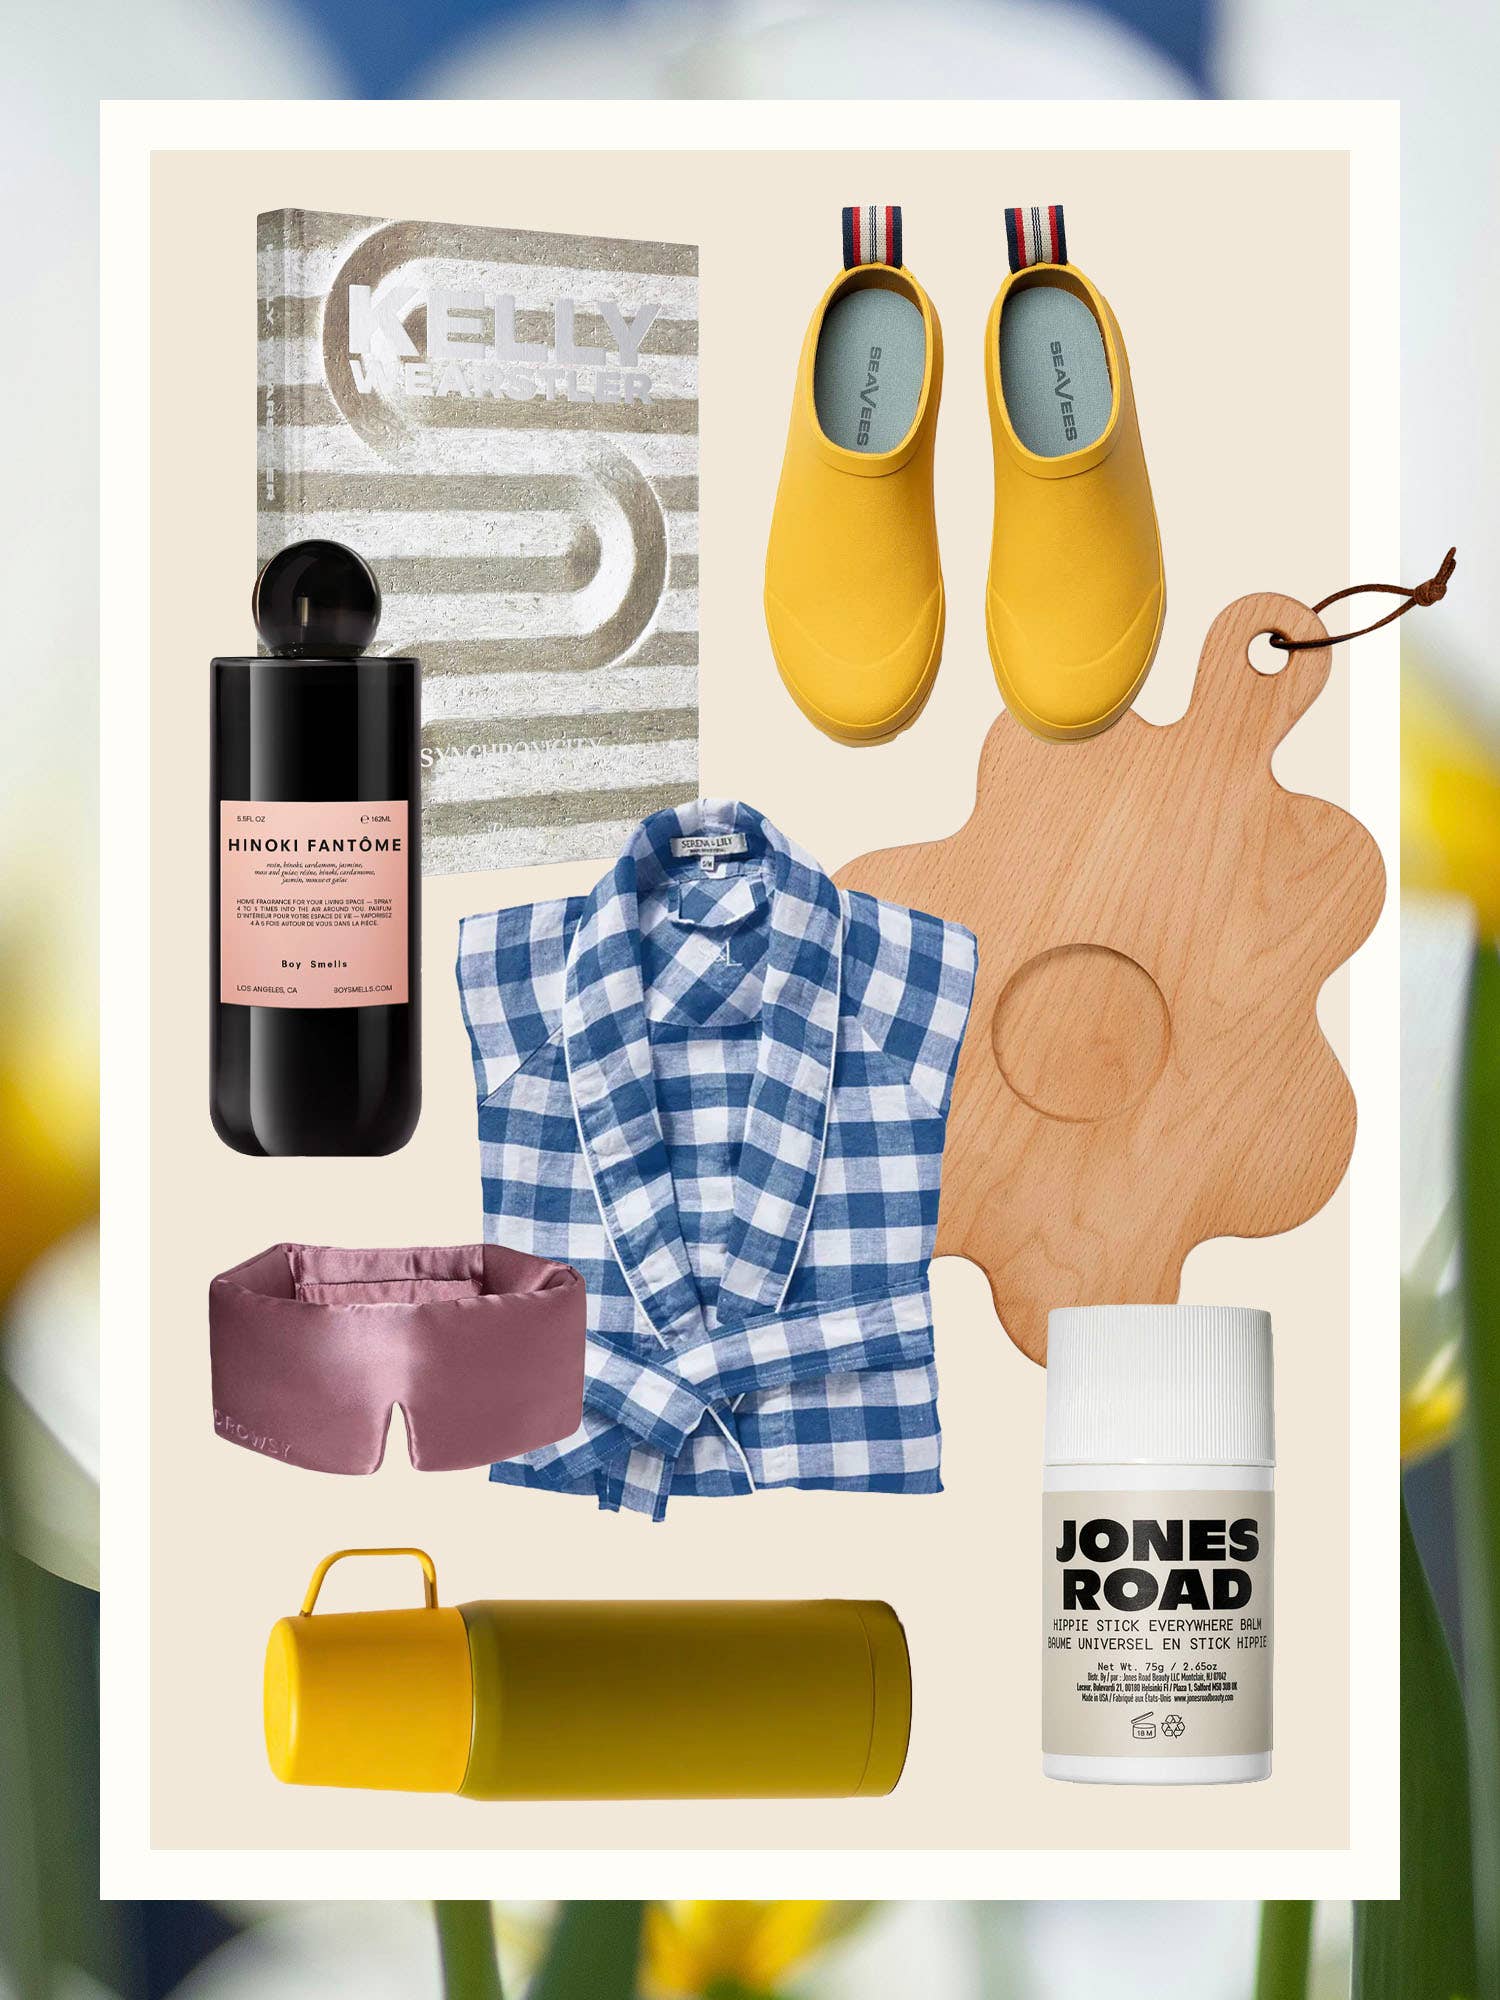
Eleven products you’ll want to leave on display.
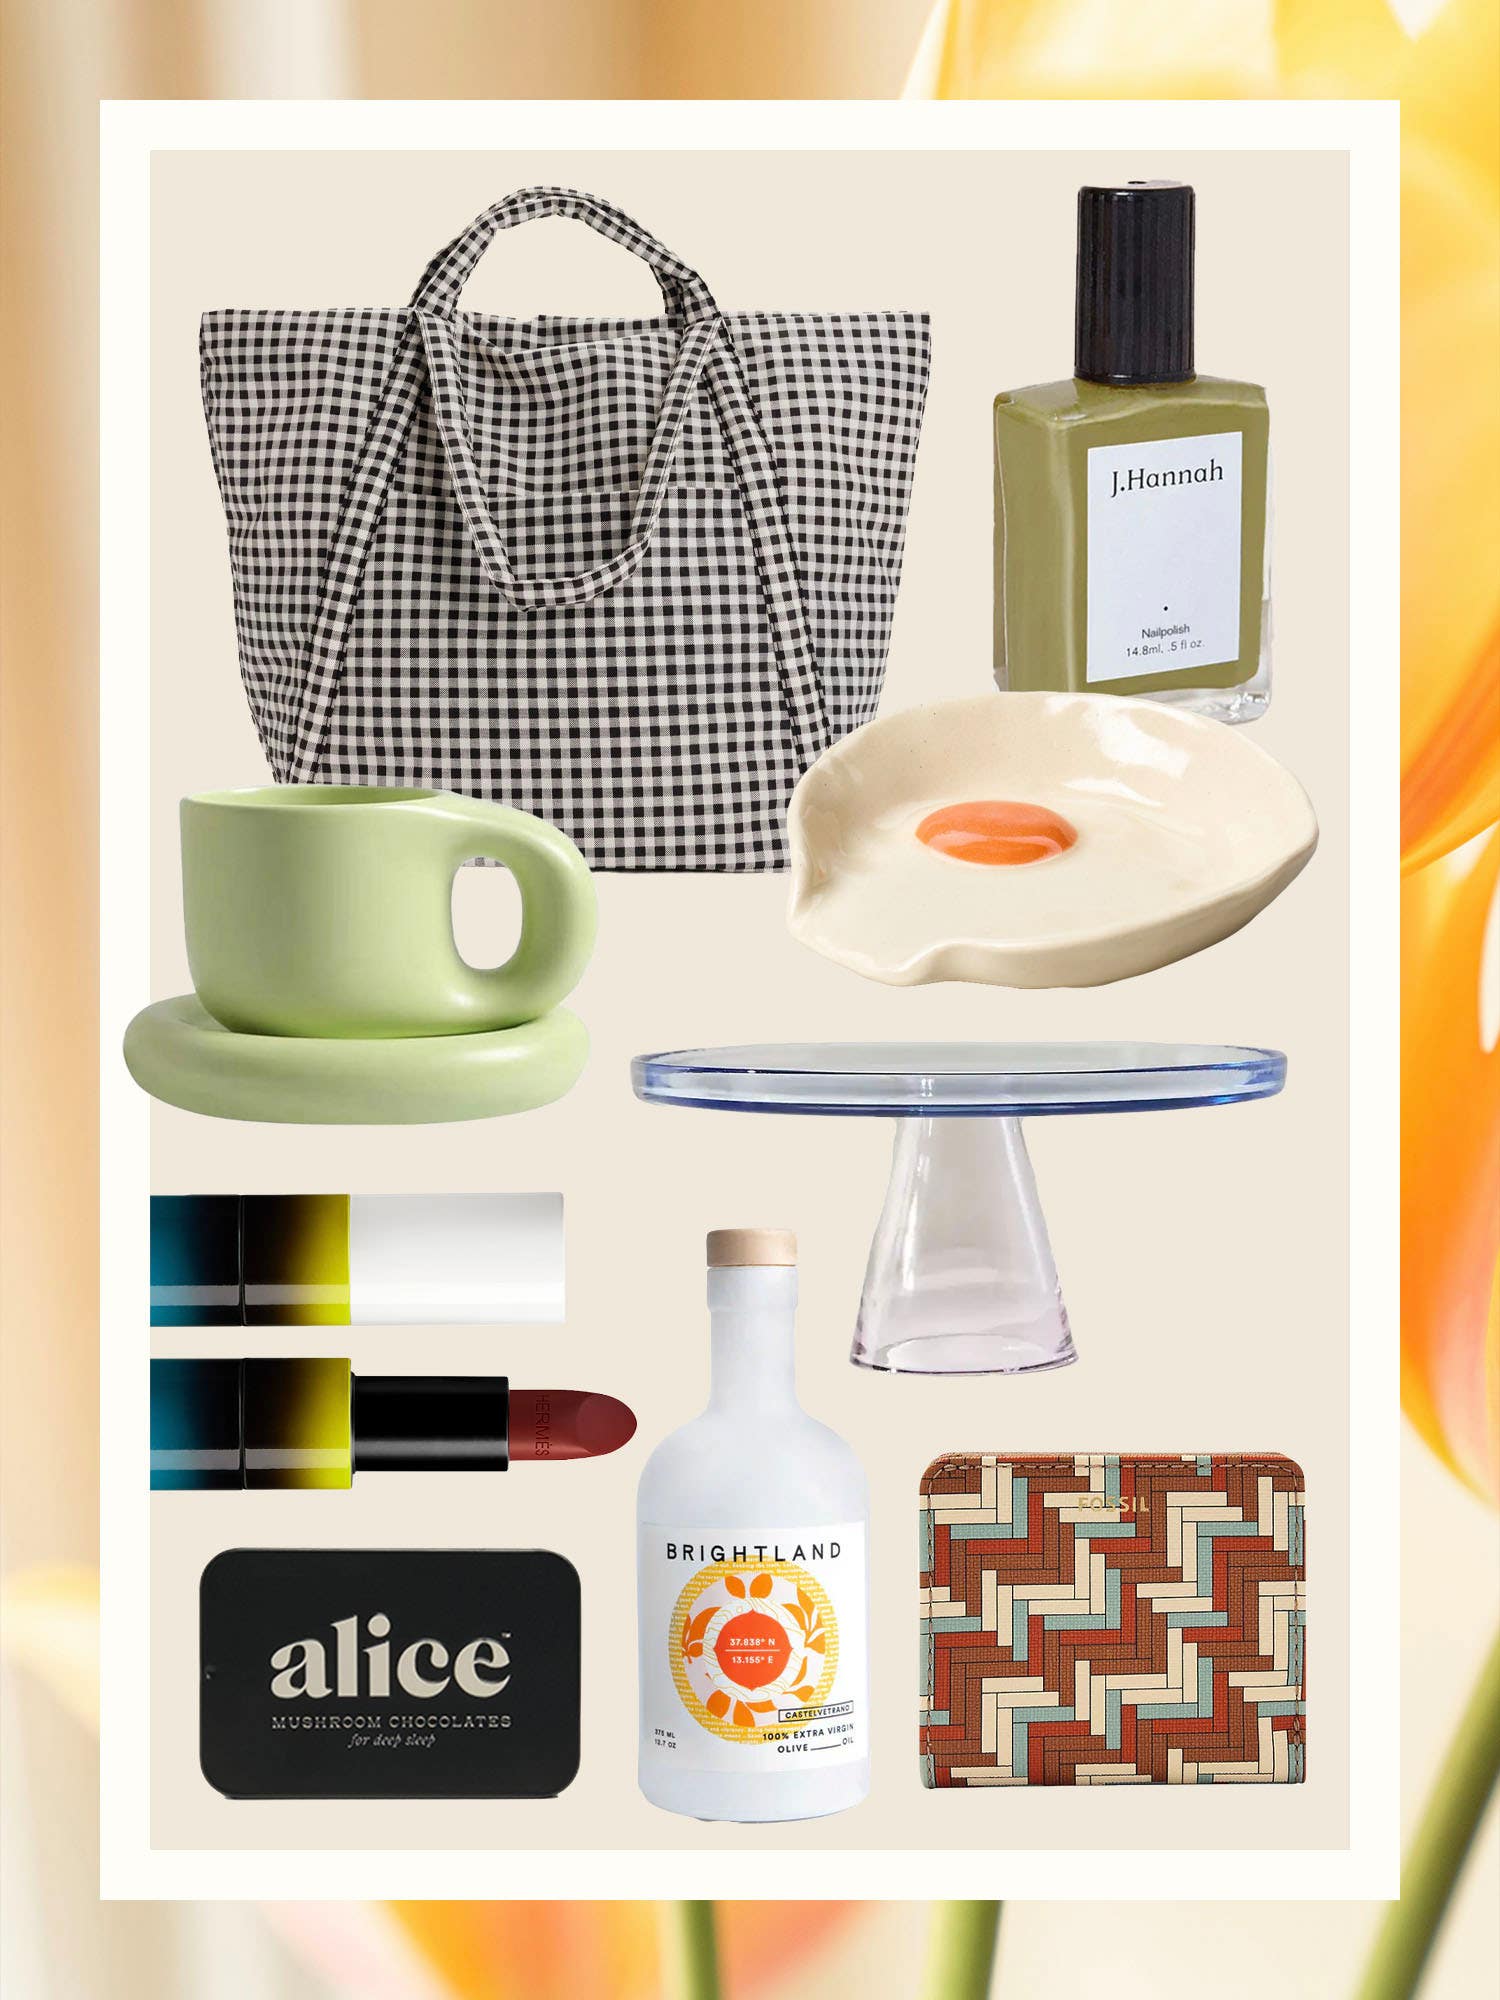
Picks from $10 to $200.
And we found stylish homes to rent in each.

It doesn’t have to be spring to start fresh.
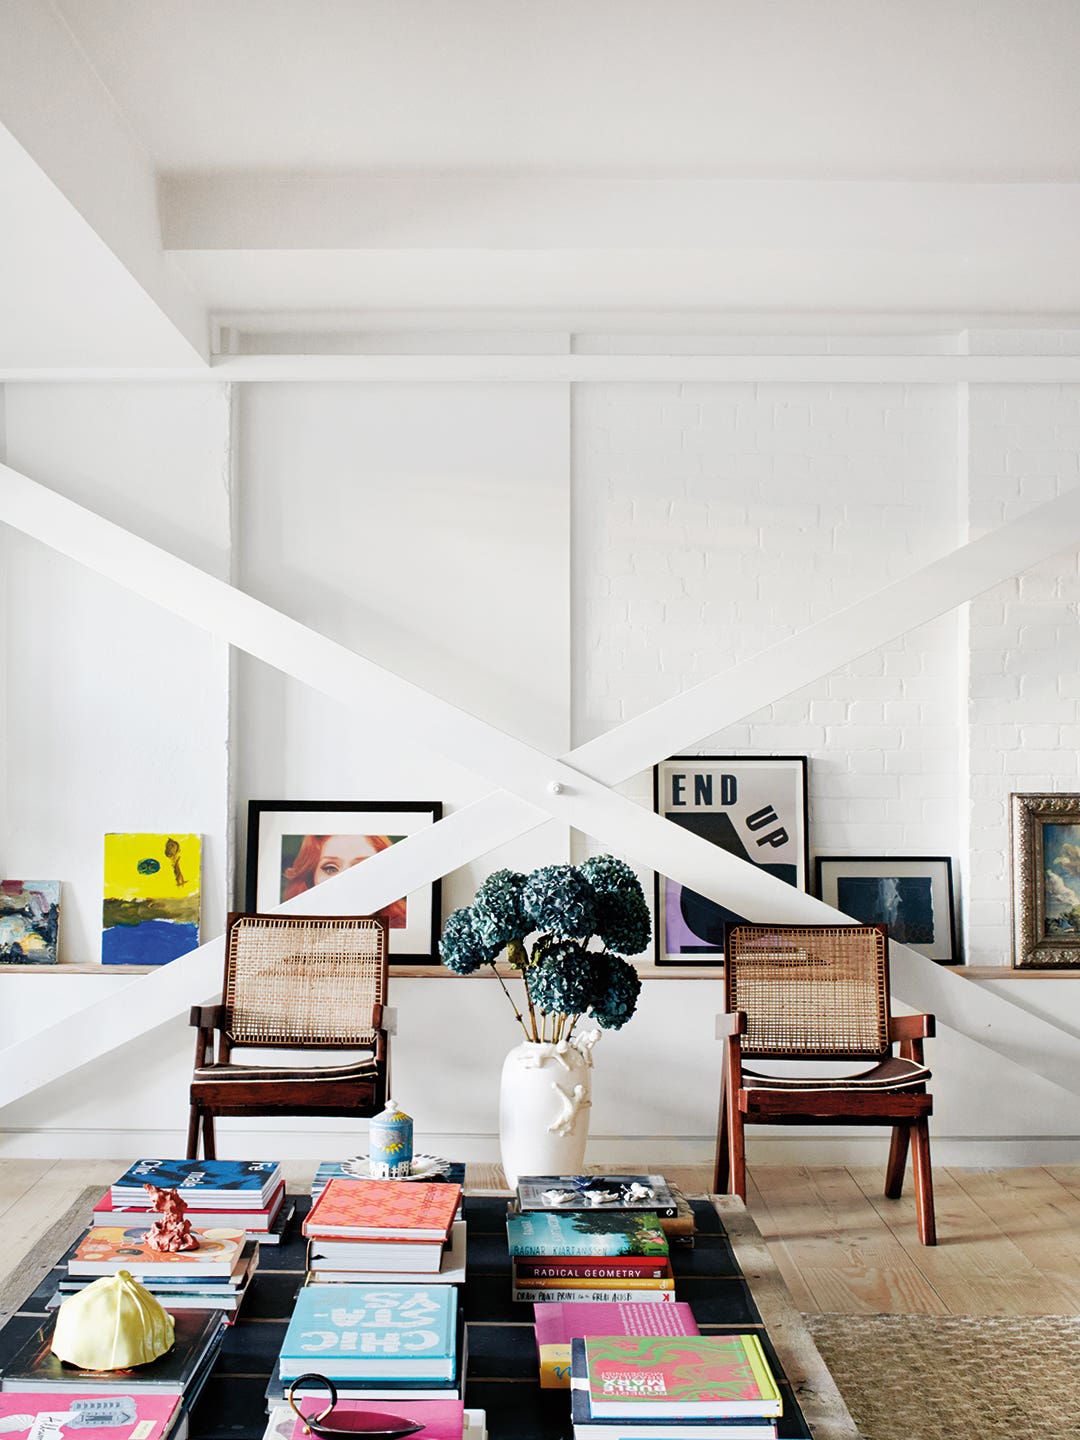
Friends buy art off the walls, but the 100-year-old cactus is staying.
Who knew the summery material had so much range.
And ditched the two utility sinks that were soaking up space.
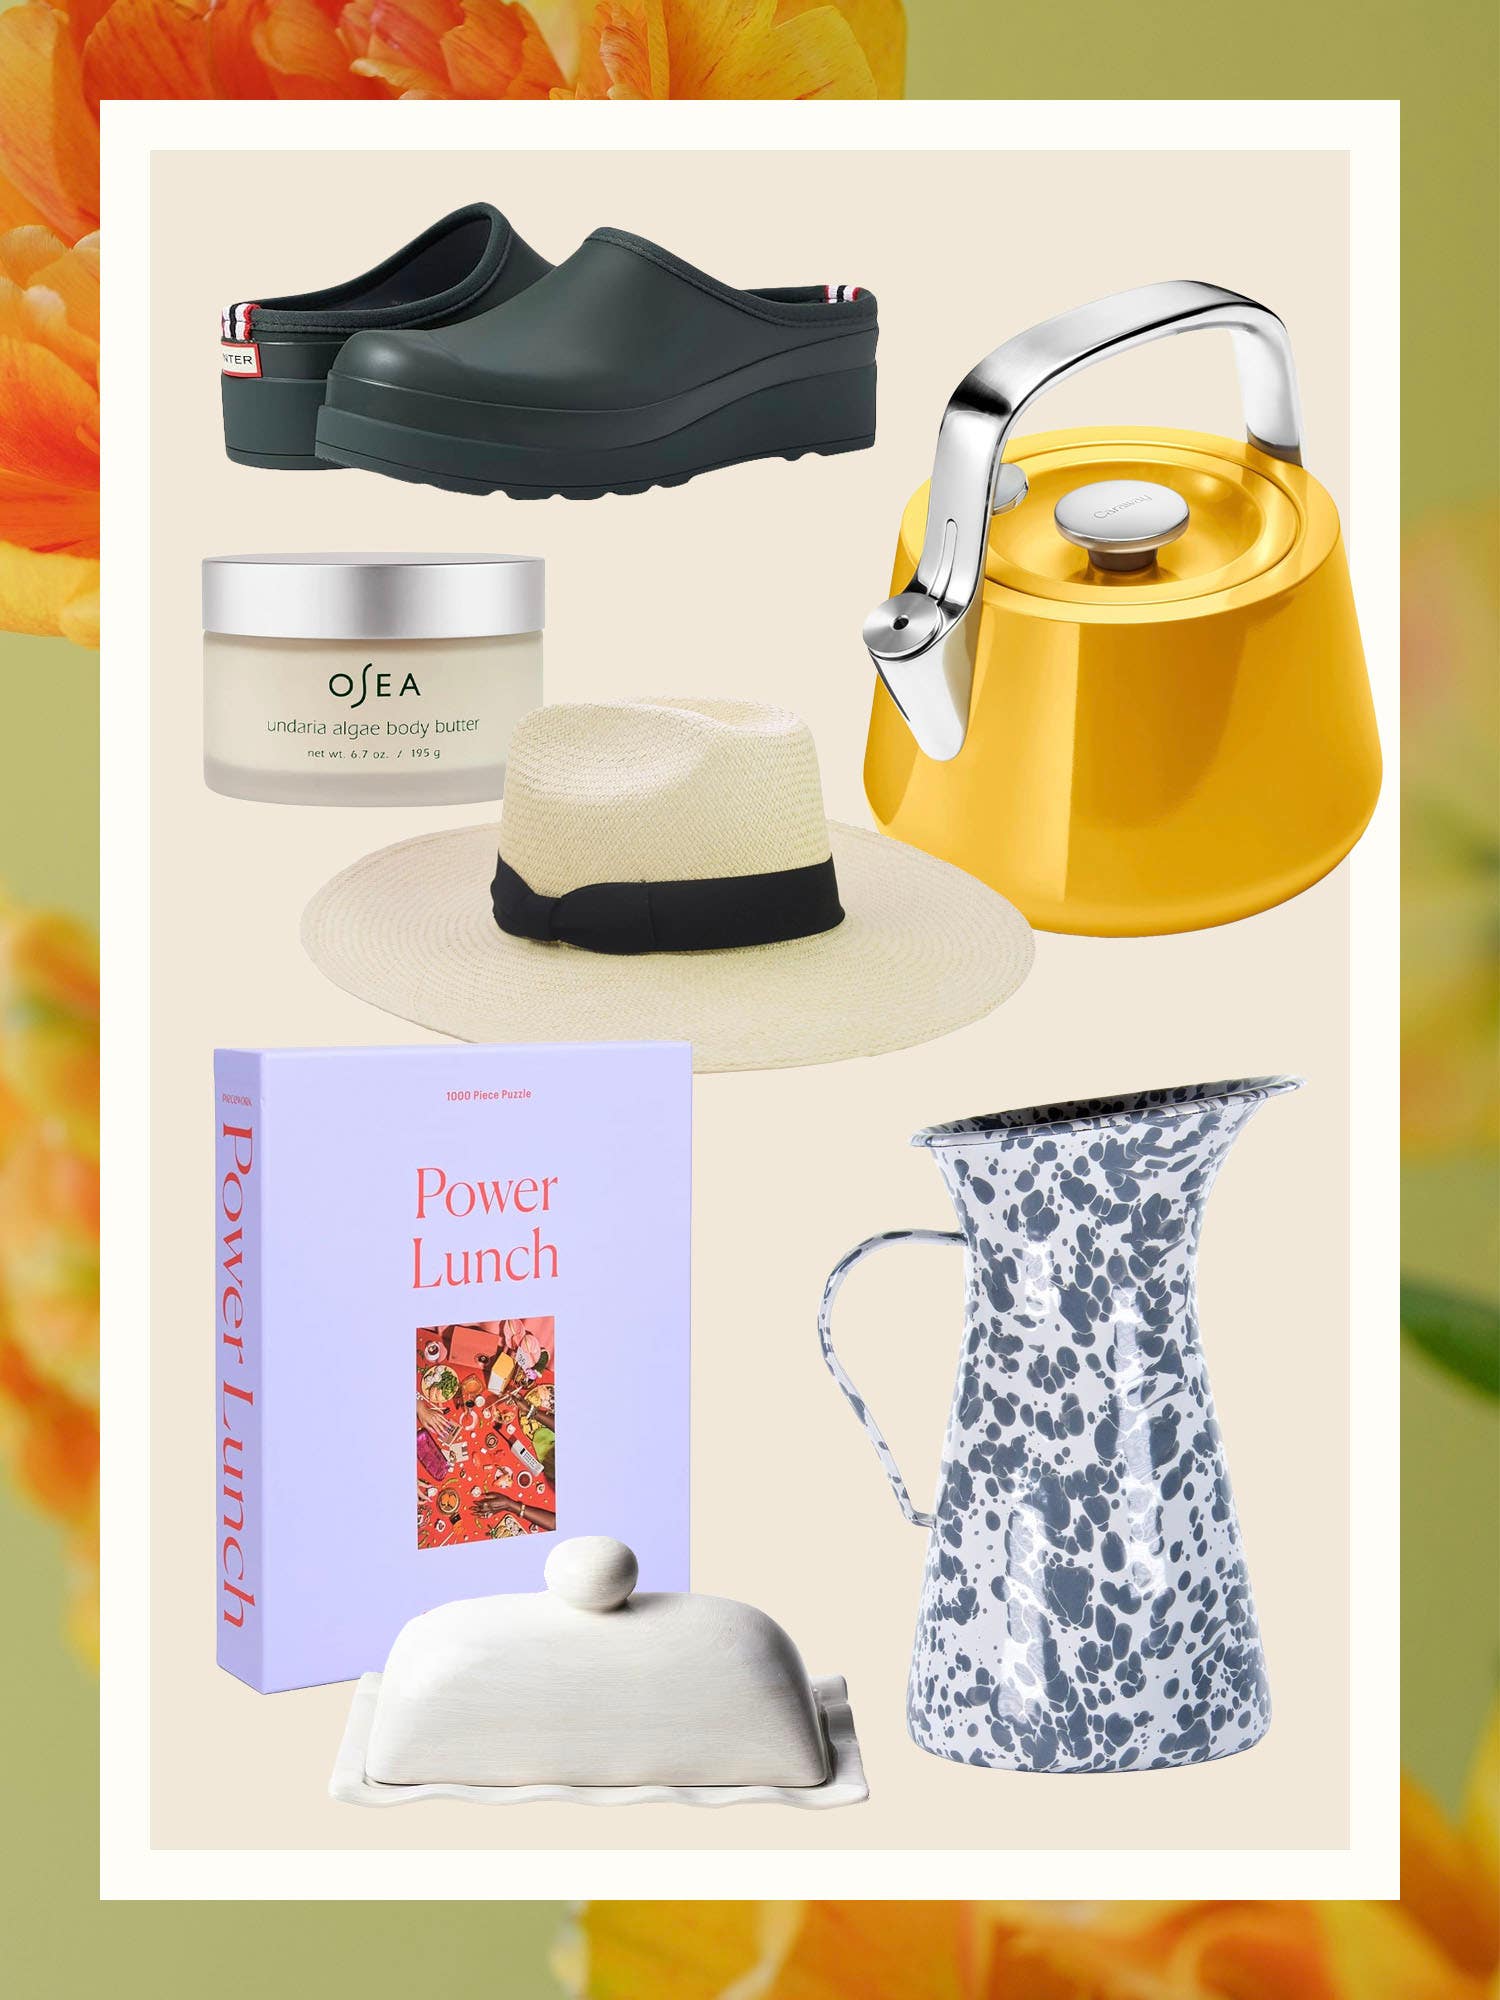
Elegant fuchsia gardening gloves and footed glass caviar bowls.